


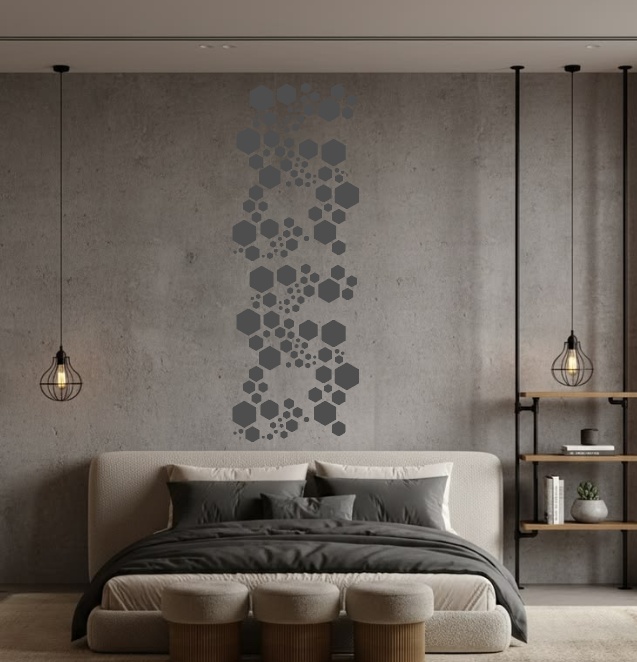

A wall pattern can look promising until you lift the stencil and find fuzzy outlines or paint outside the design. Before continuing across the wall, use that first repeat to identify what needs adjusting.
This guide focuses on painted stencil patterns, rather than raised designs made with plaster or texture paste.
Quick Answer
To reduce paint bleeding under a wall stencil, remove excess paint from your brush or roller, use light pressure, and keep the template flat against the wall. Build coverage gradually instead of applying one heavy coat. Test your technique before starting the full pattern. These steps improve edge definition, although some bleeding can still occur.
Why Does Paint Bleed Under a Stencil?
Paint bleeding happens when wet paint travels beneath the template’s cut edges. Too much paint on the applicator and excessive pressure are common causes. A rough wall can also make close contact between the stencil and surface more difficult.
Use the appearance of the problem as a starting point for your next test:
| What you notice | What to check first |
|---|---|
| Heavy paint spreading beyond several edges | Paint load and application pressure |
| Blurred areas around raised wall texture | Contact between the stencil and wall |
| A shifted or doubled outline | Whether the template moved during application |
| Smears appearing when you reposition | Wet paint touching the next placement |
Change one thing at a time. That makes it easier to understand which adjustment improves the result.
Start with a Stable Surface and Stencil
The wall should be clean, dry, and free from loose paint or dust. If you have recently painted it, follow the paint manufacturer’s instructions before taping or decorating over the new finish.
Position the stencil, check its alignment, and secure its edges with suitable painter’s tape. Make sure it rests flat against the surface before applying paint. DFAdecor’s stencil application instructions explain these preparation steps.
For a textured wall, test a small area first. Judge the dried result from a normal viewing distance before deciding whether its edge definition suits your project.
Control the Paint Before It Reaches the Wall
Remove the excess
Load a small amount of paint onto your applicator, then blot or roll off the excess. The tool should leave a controlled, light impression rather than a wet deposit.
With a roller, distribute paint evenly before offloading it. Uneven loading can leave one part of the roller wetter than another.
Keep pressure light
Pressing harder to get stronger coverage can squeeze paint beneath the stencil. Start gently and build the color through light applications.
For a sponge or stencil brush, use light dabbing motions. Avoid dragging a heavily loaded tool across the cut edges.
Accept a lighter first pass
A pale first application does not necessarily mean something is wrong. Additional thin coverage is easier to control than a thick, wet layer.
Test your chosen paint and applicator together before committing to the wall. Follow the paint’s instructions for drying between coats.
Check One Repeat Before Continuing
Treat the first placement as a checkpoint:
- Apply paint with your tested technique.
- Lift the stencil carefully without sliding it across the design.
- Inspect the outline and coverage.
- Check for wet paint on the stencil’s underside.
- Adjust before painting the next repeat.
When repositioning, avoid placing the template against paint that could transfer or smear. DFAdecor recommends allowing the previous section to dry slightly before aligning the next repeat.
If the result is blurry, return to a test area with less paint and lighter pressure. Continuing unchanged can repeat the same problem across the entire wall.
Choose a Pattern and Practice Before the Main Project
A useful practice test includes a complete section of the design, so you can see how its small details and larger openings behave with your tools.
Keep the test setup close to your planned project: the same paint, applicator, and a similar surface. A successful test on smooth cardboard may not show how the pattern will look on a textured wall.
Explore DFAdecor’s wall stencils, checking the intended application and available size for each design. For placement guidance, visit the How to Stencil tutorial.
Once your test produces edges you are happy with, use the same paint load and pressure throughout the project. A few careful trials at the beginning give you a clearer process to follow across the wall.
Share:
How to Clean and Store Reusable Wall Stencils