



Collections
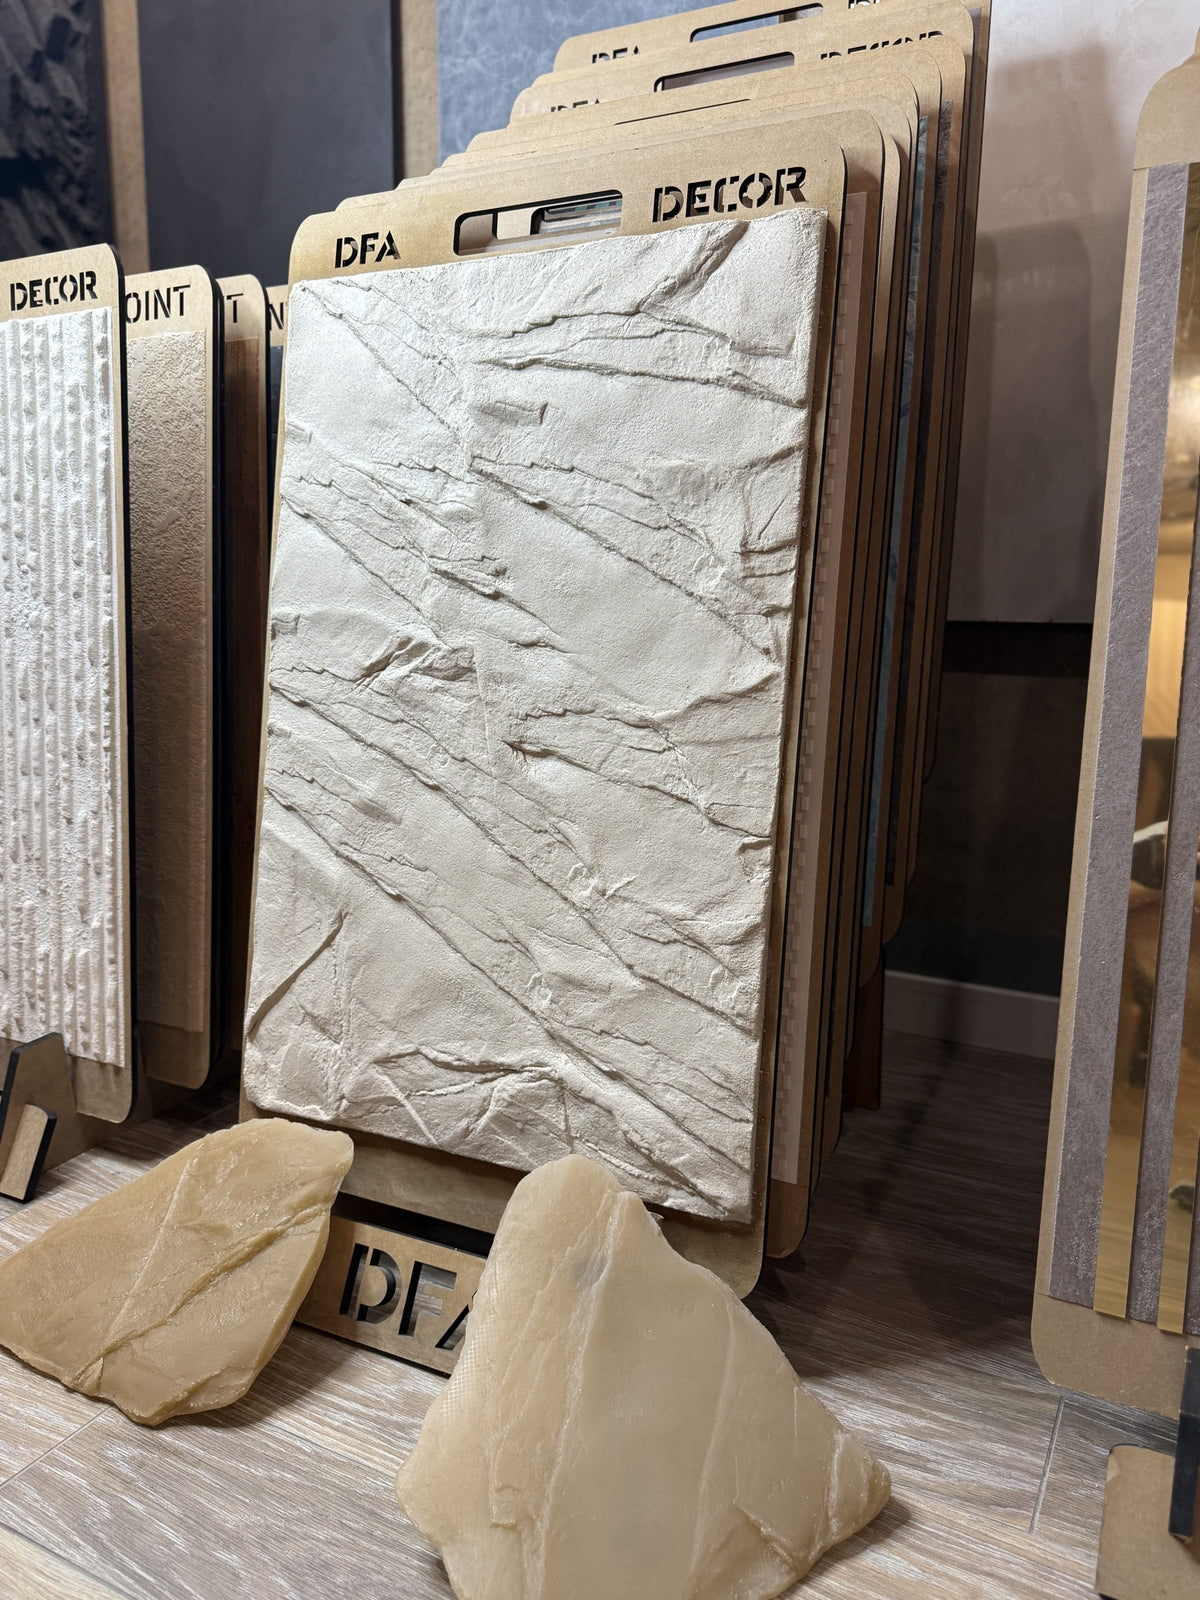
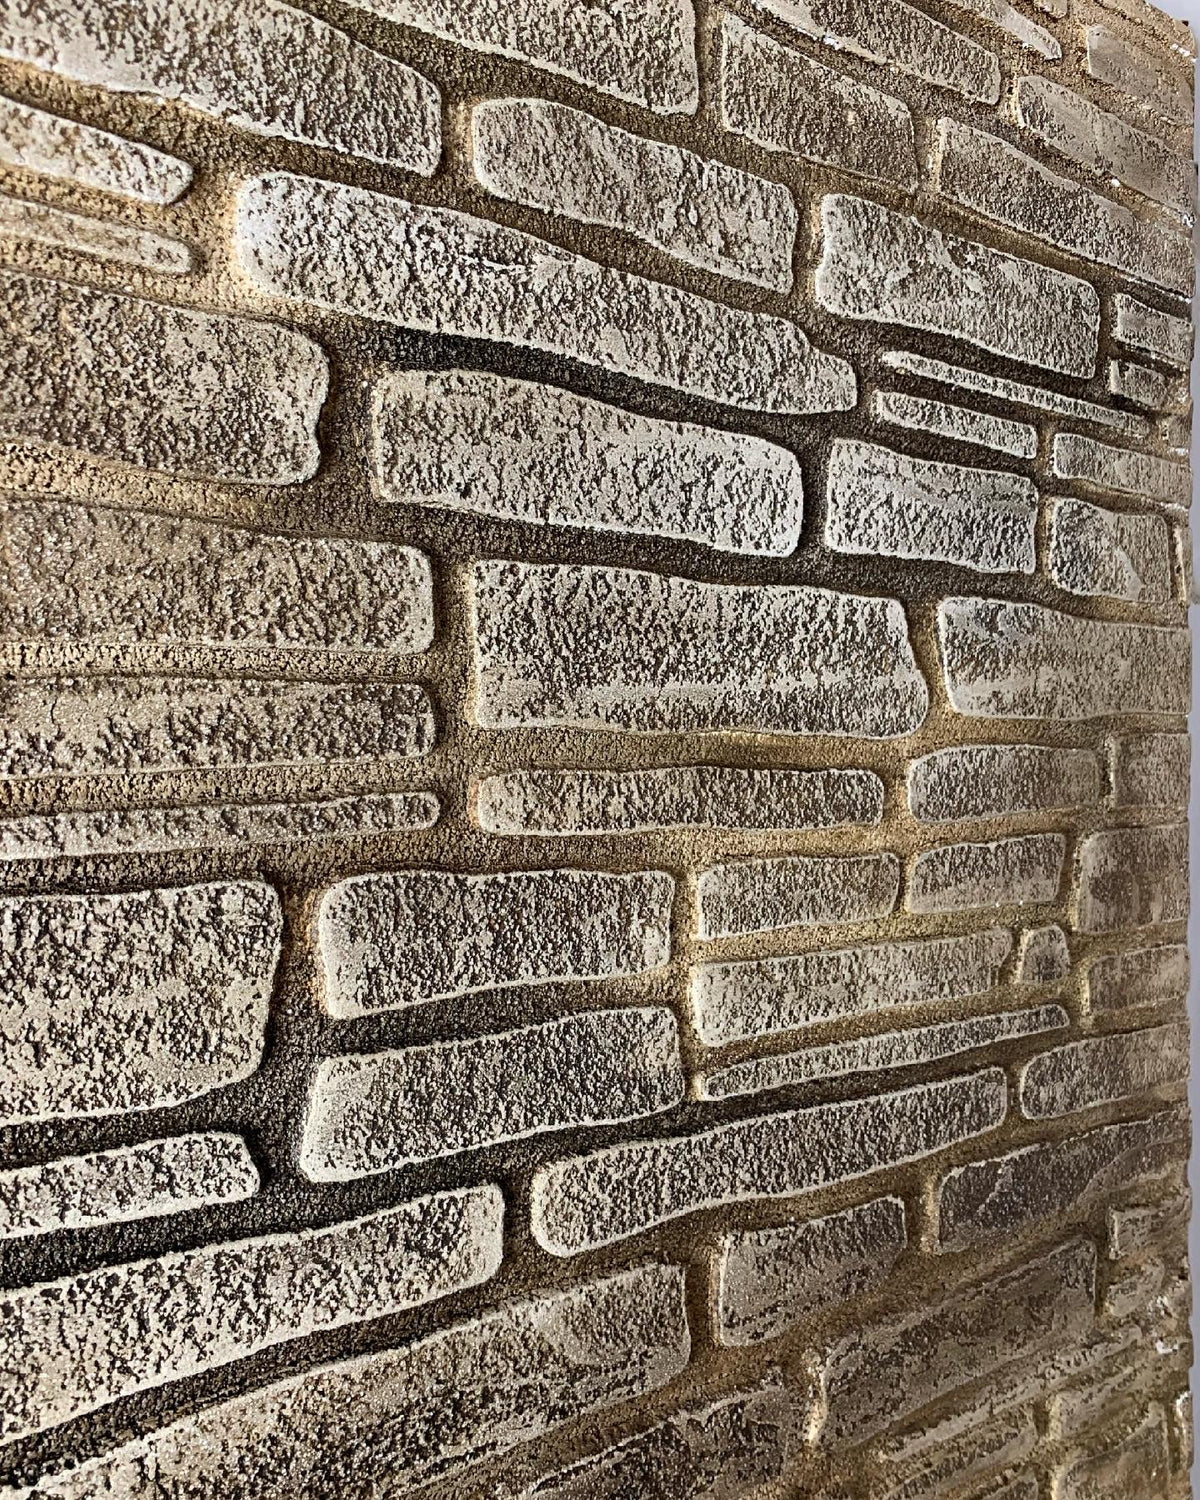
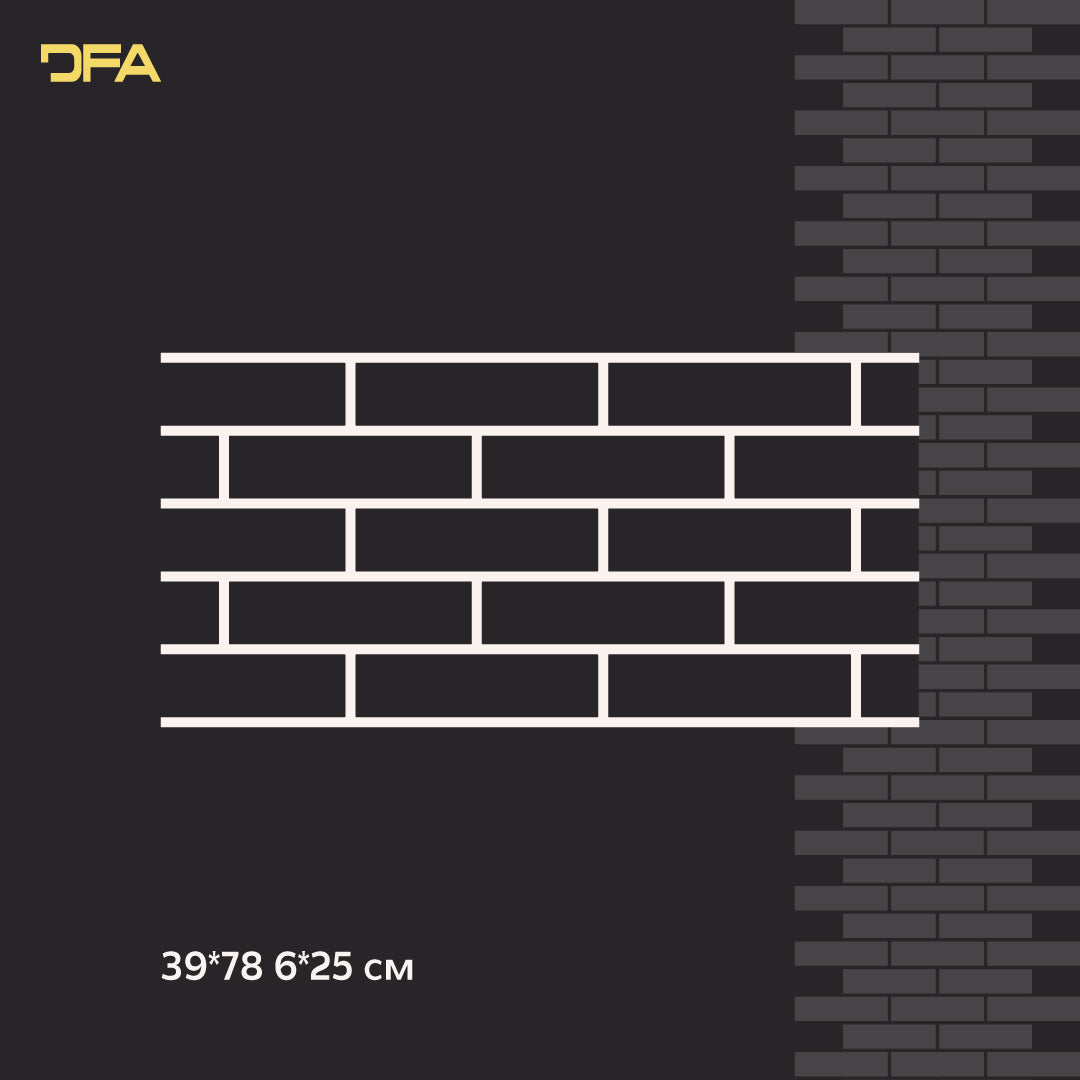
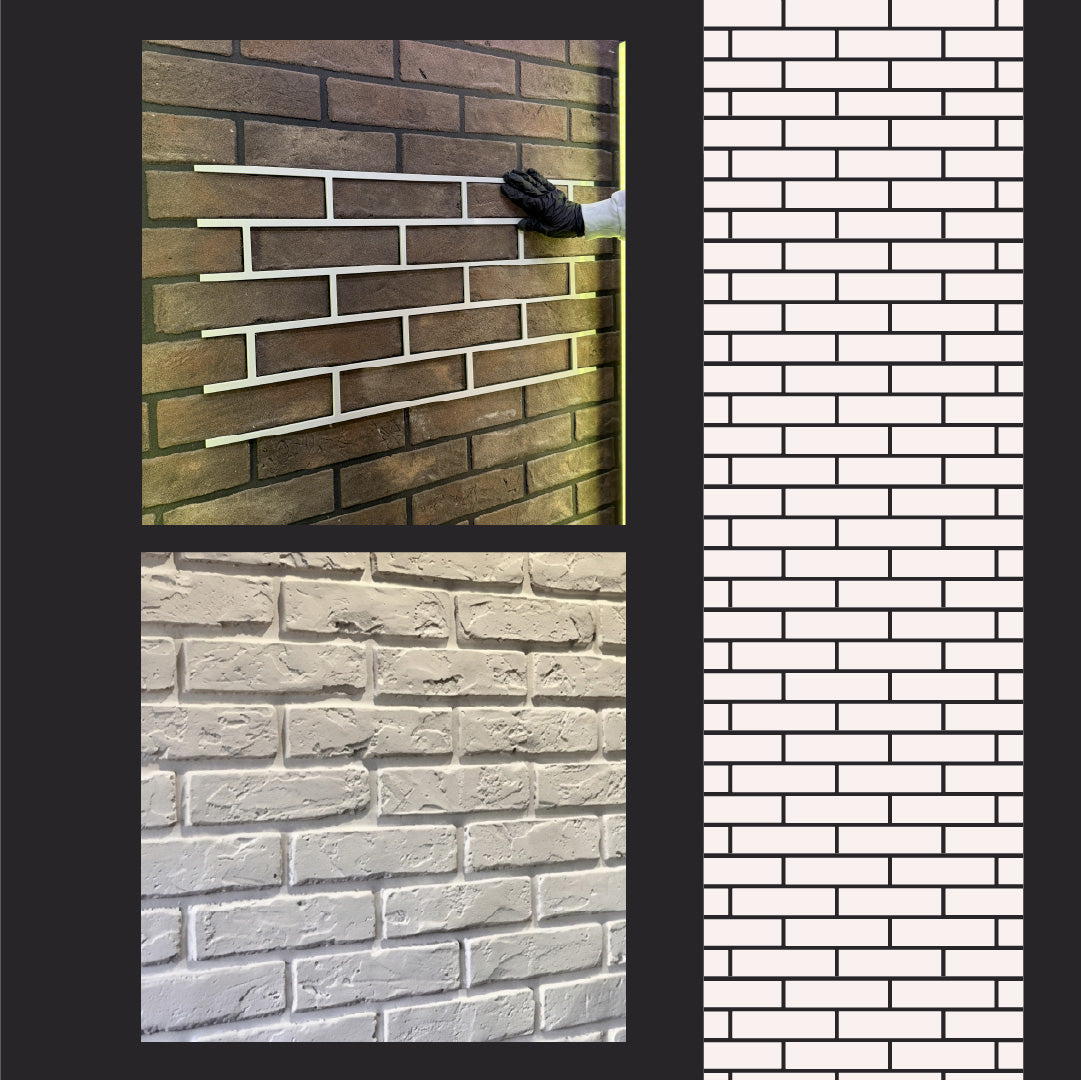
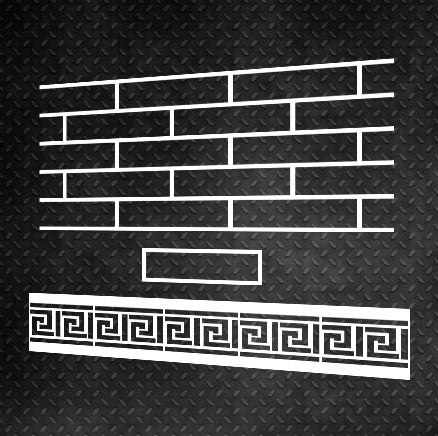
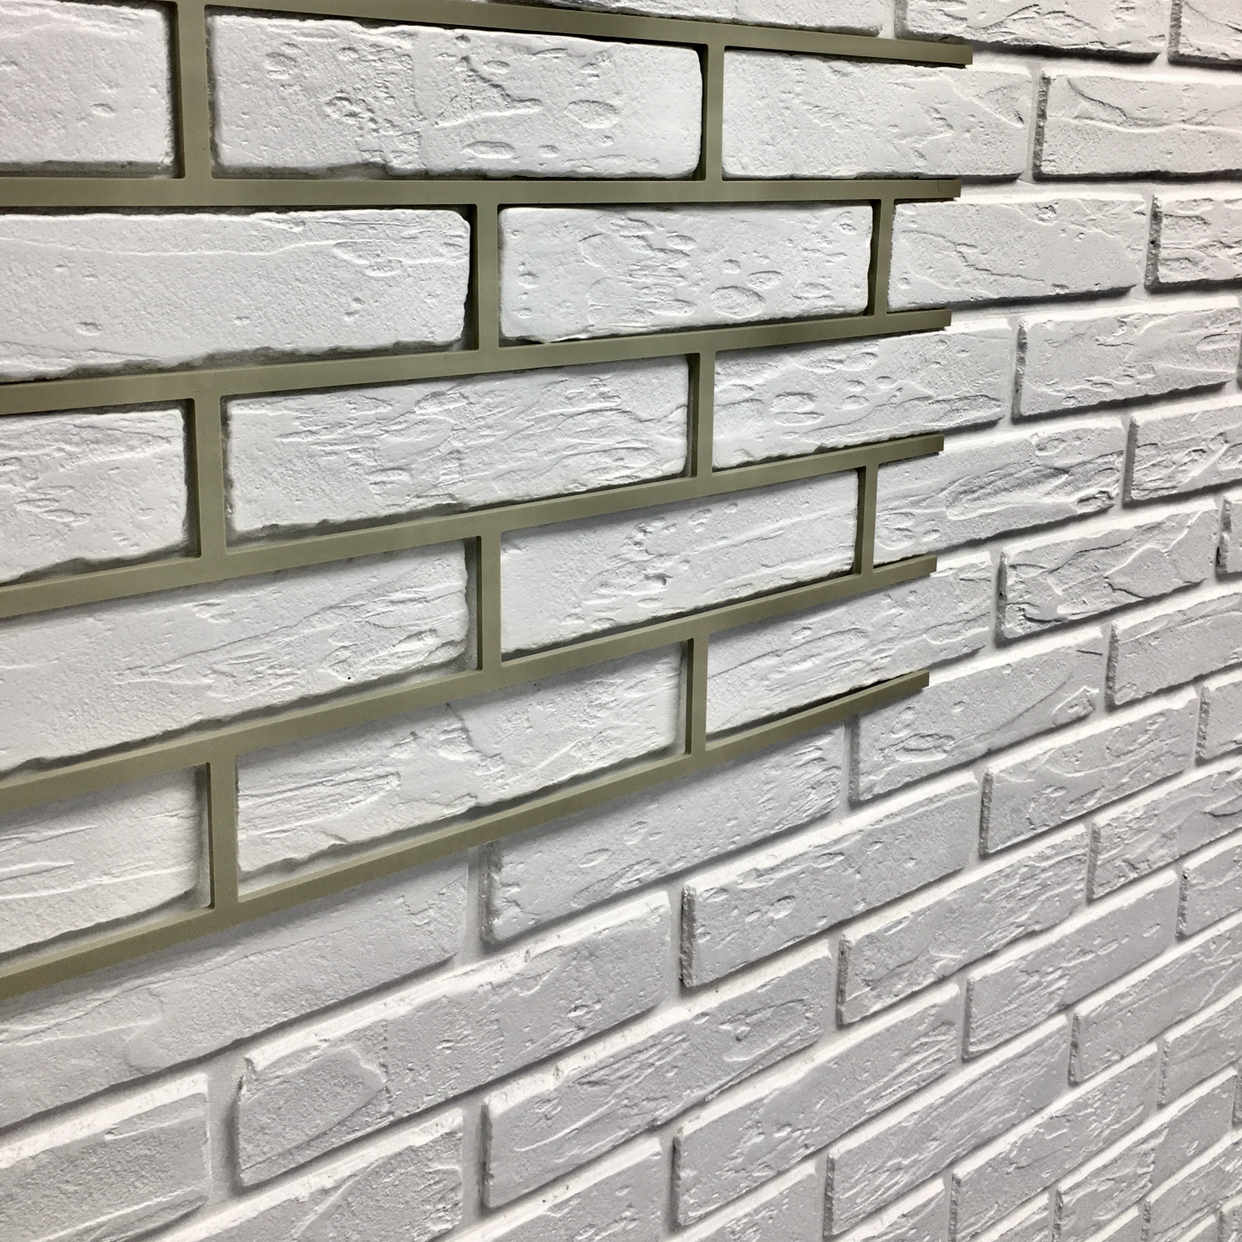
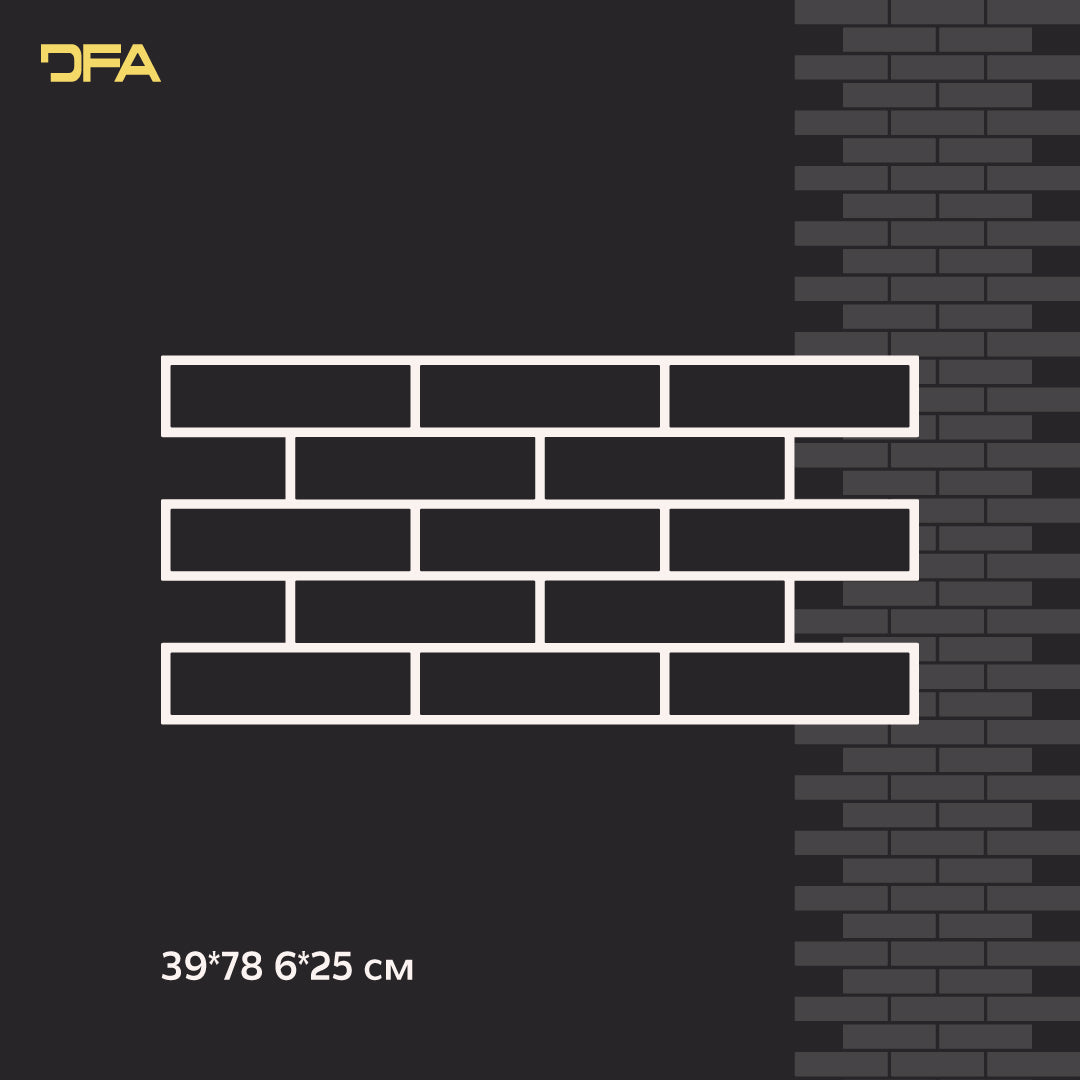
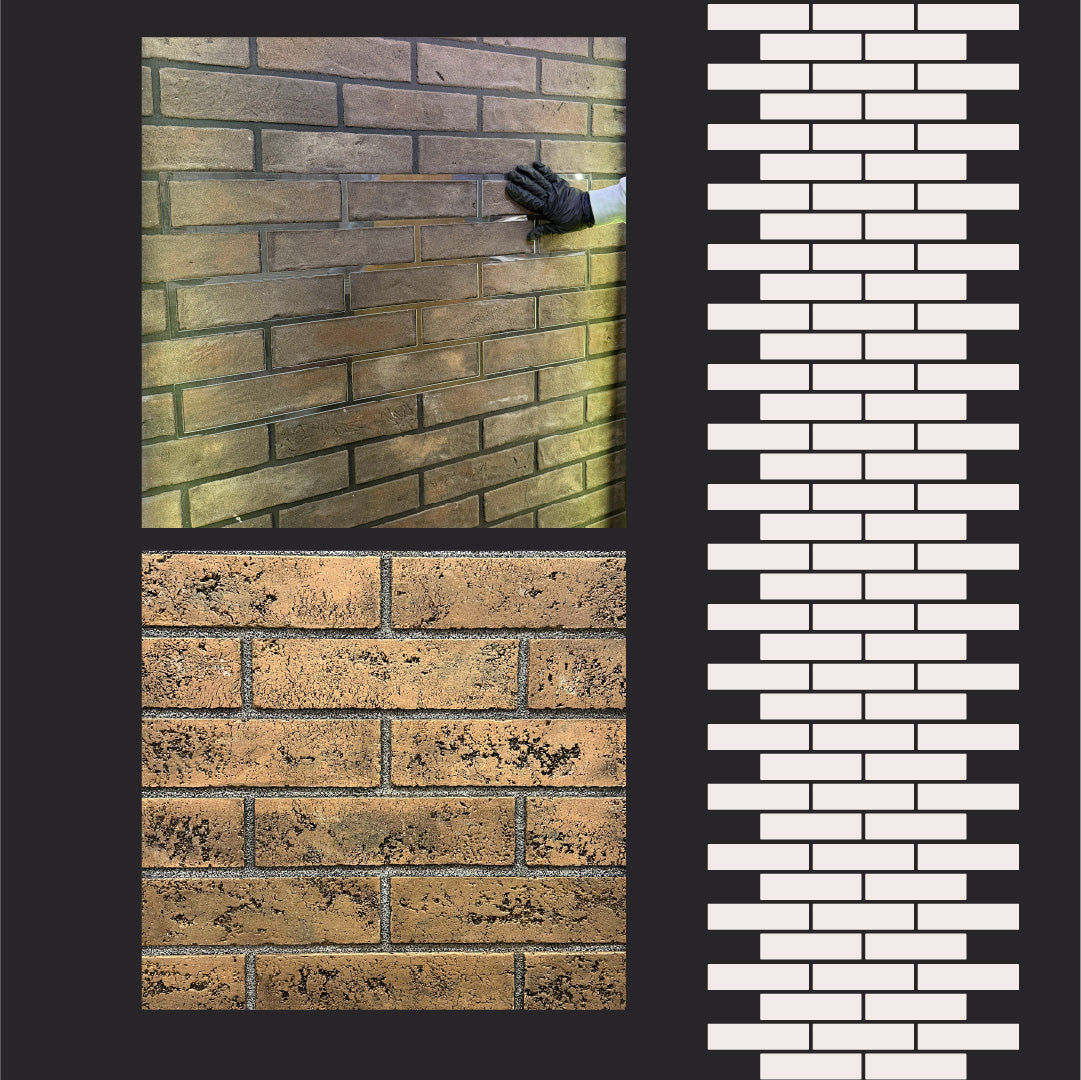







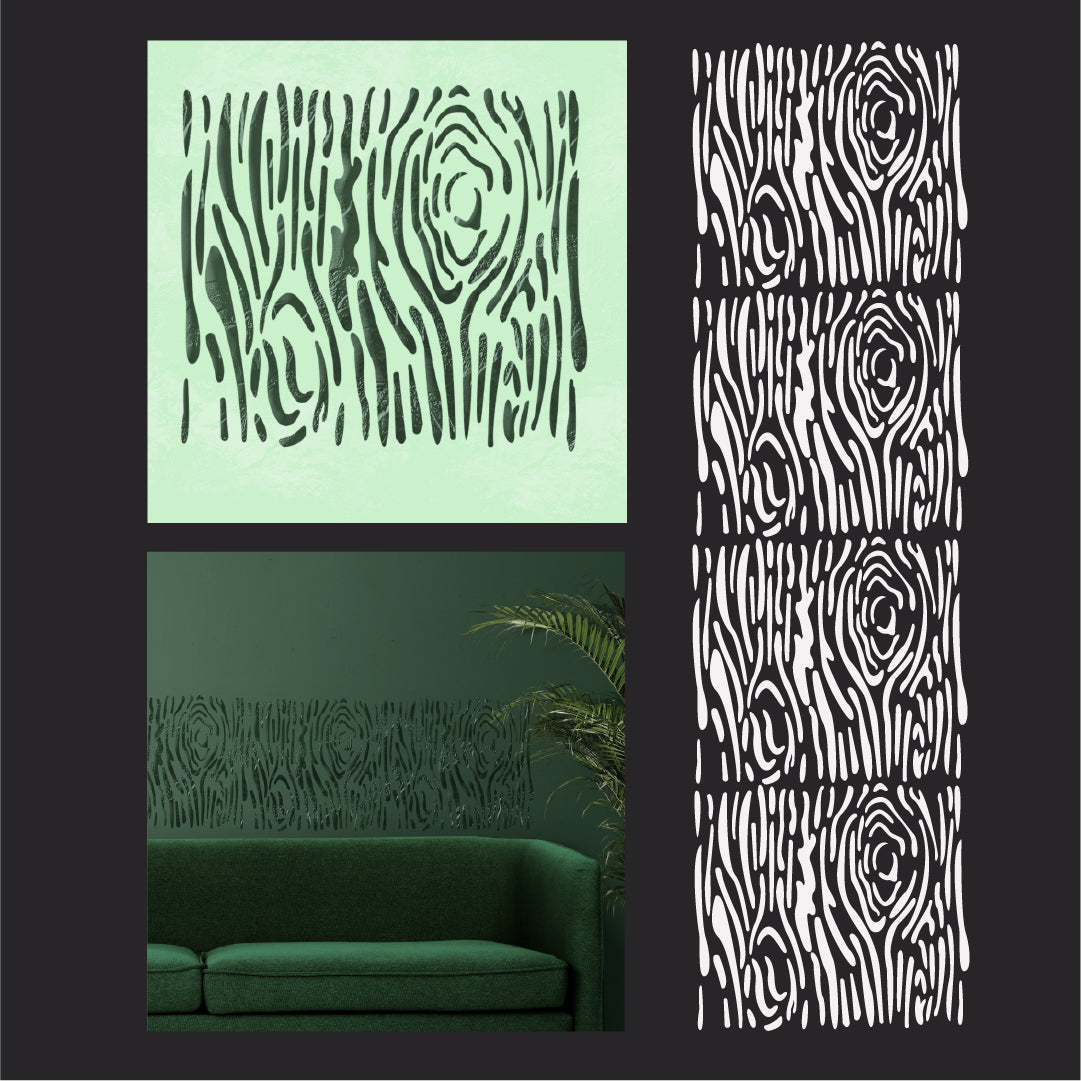


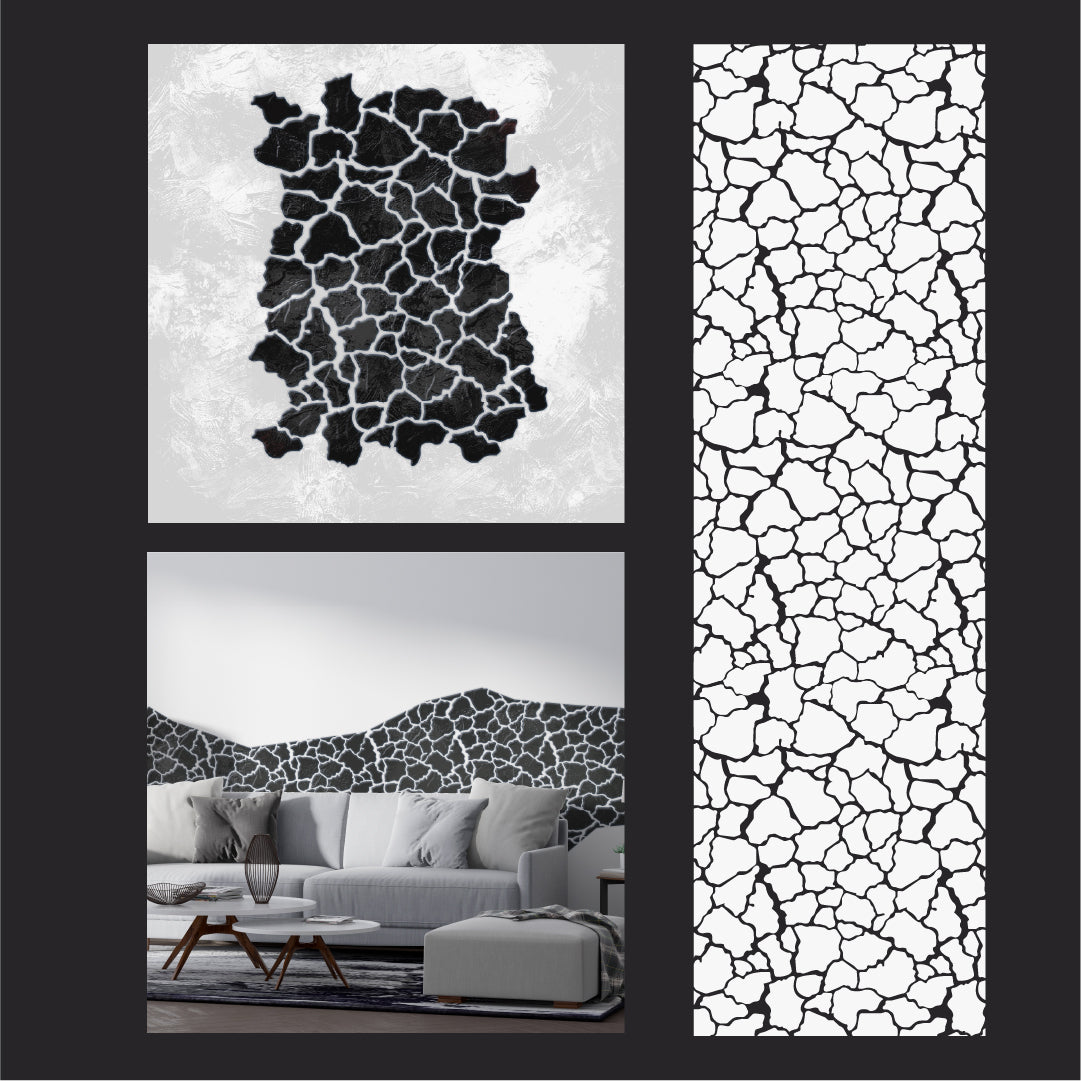

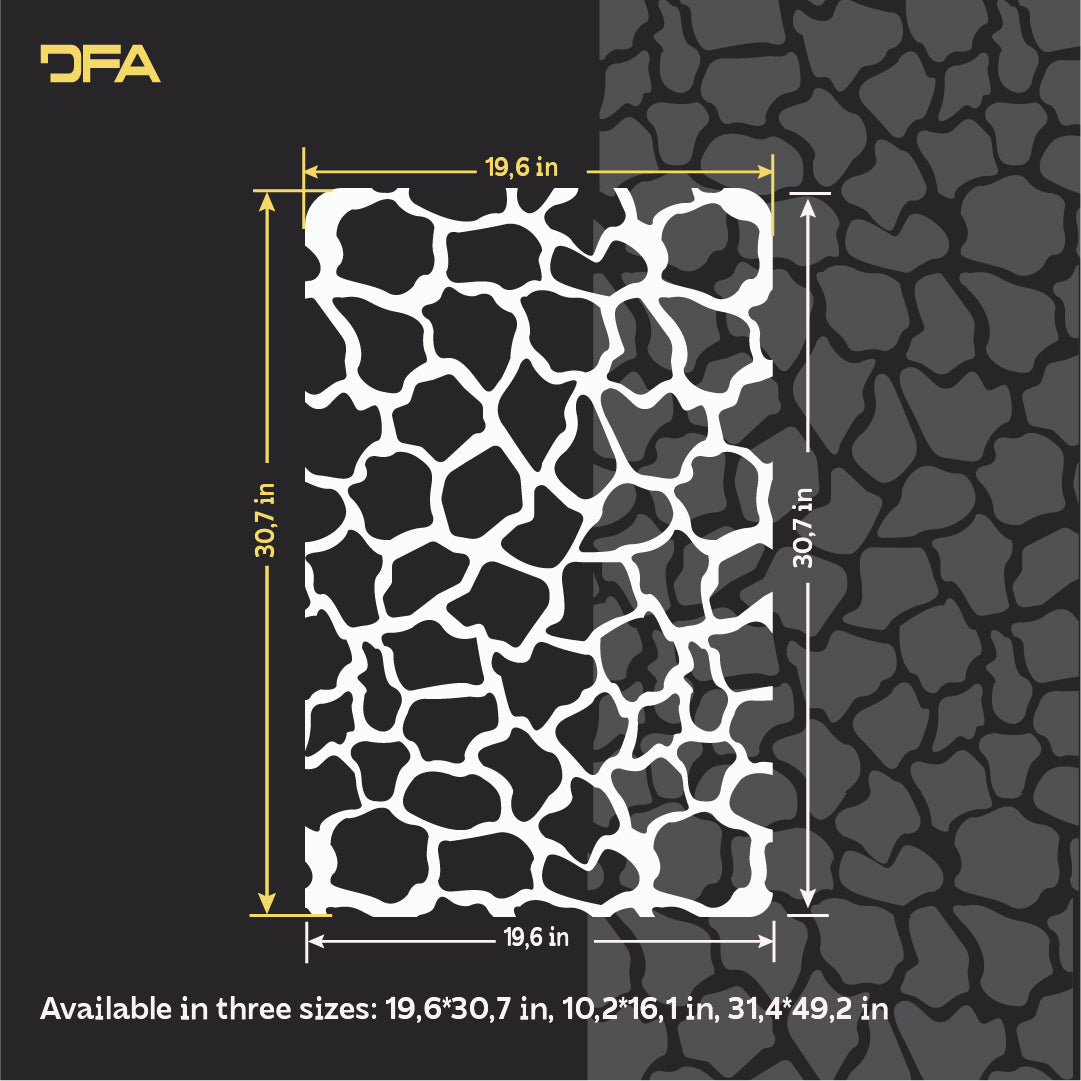
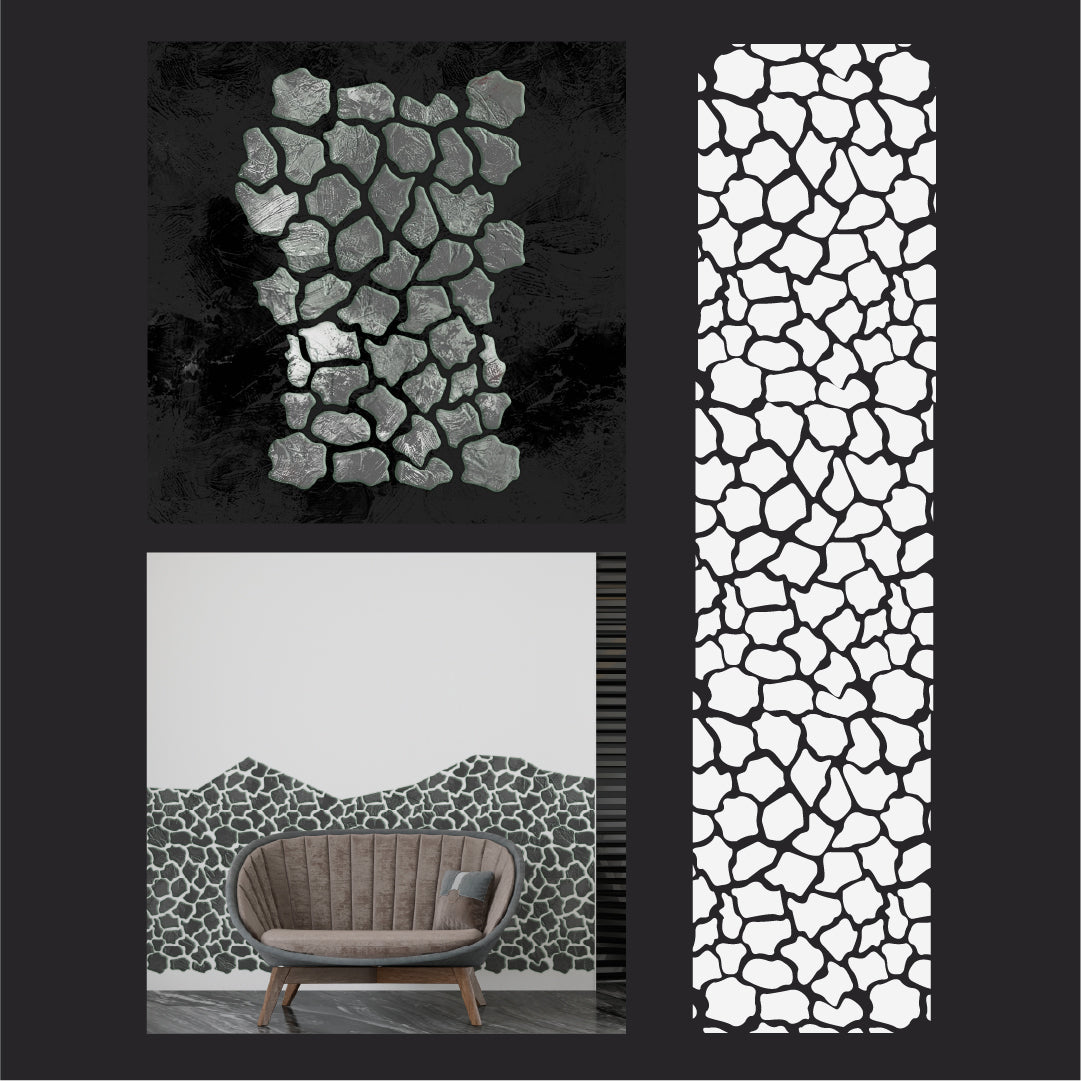
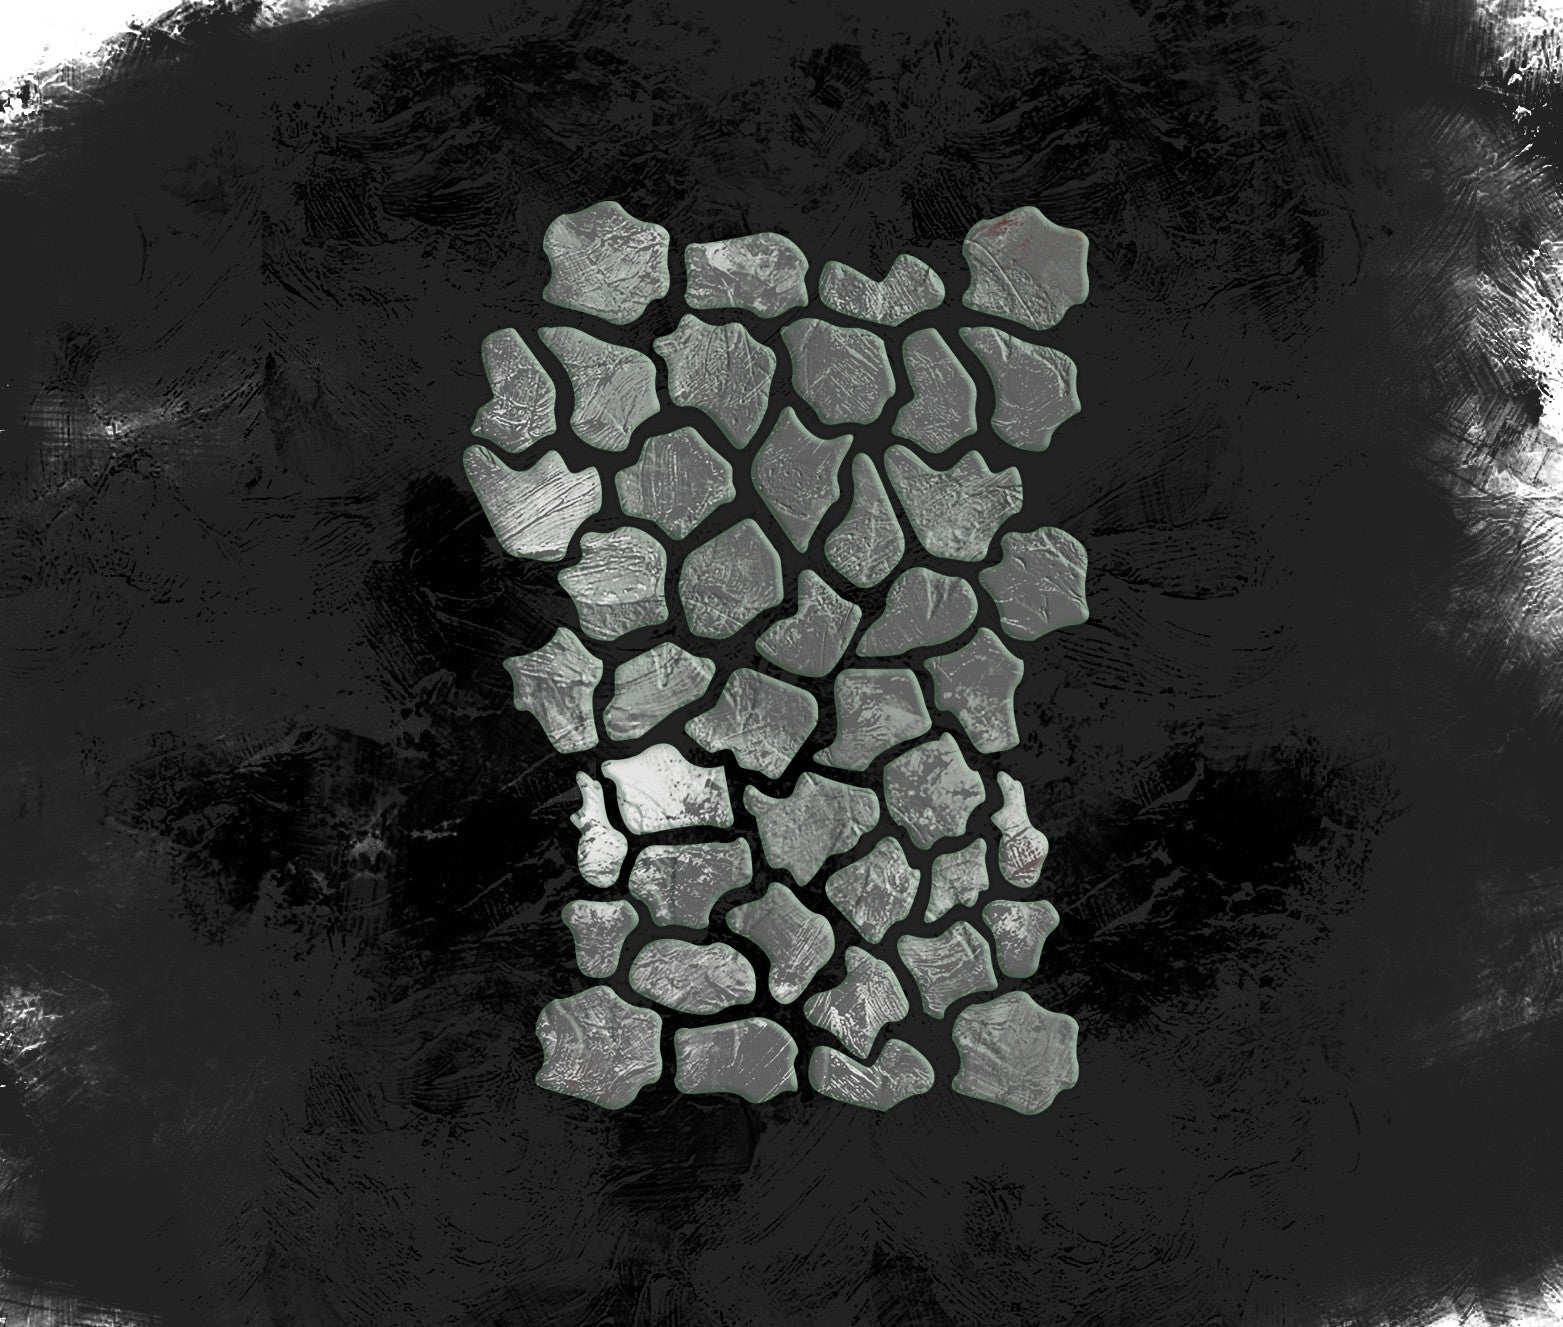
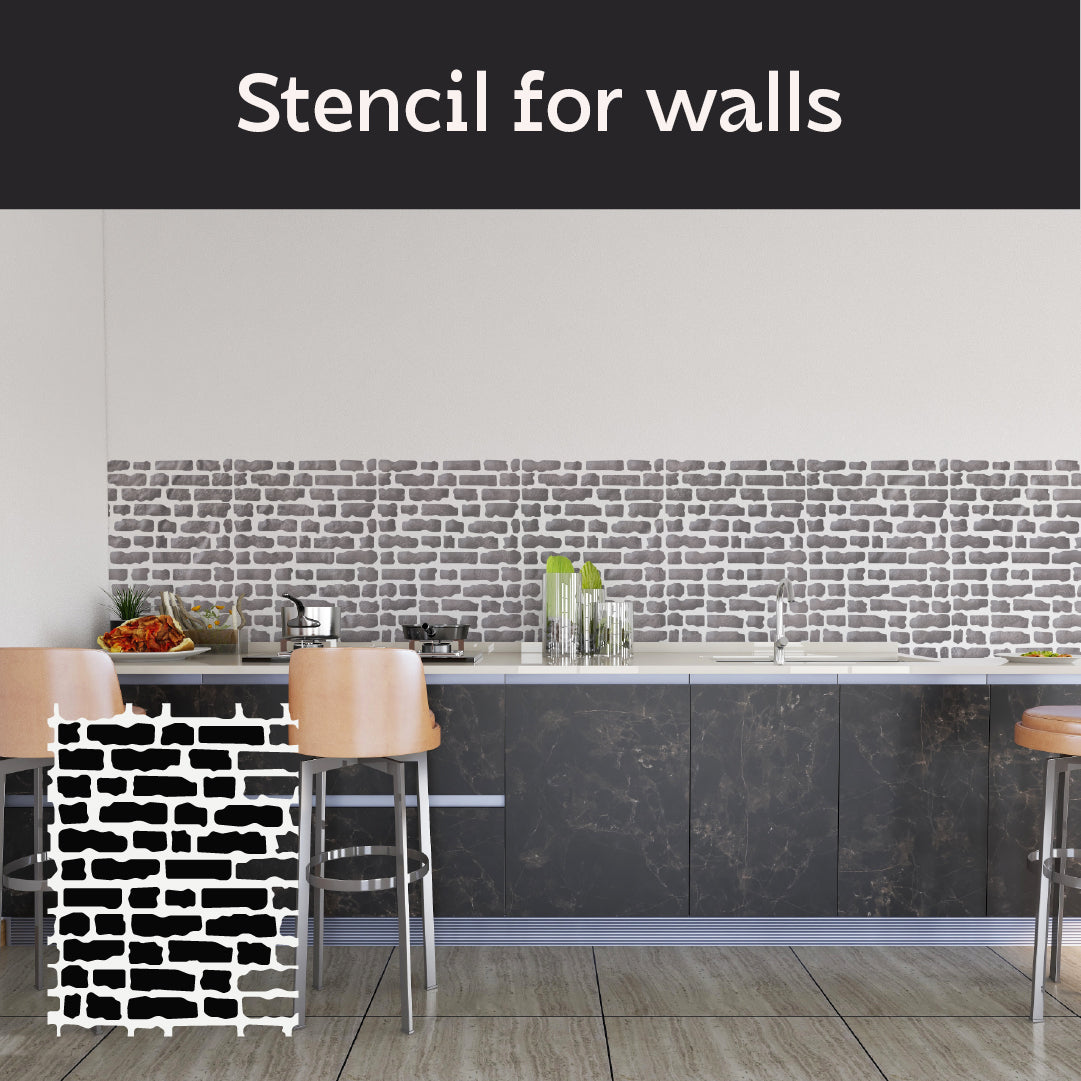
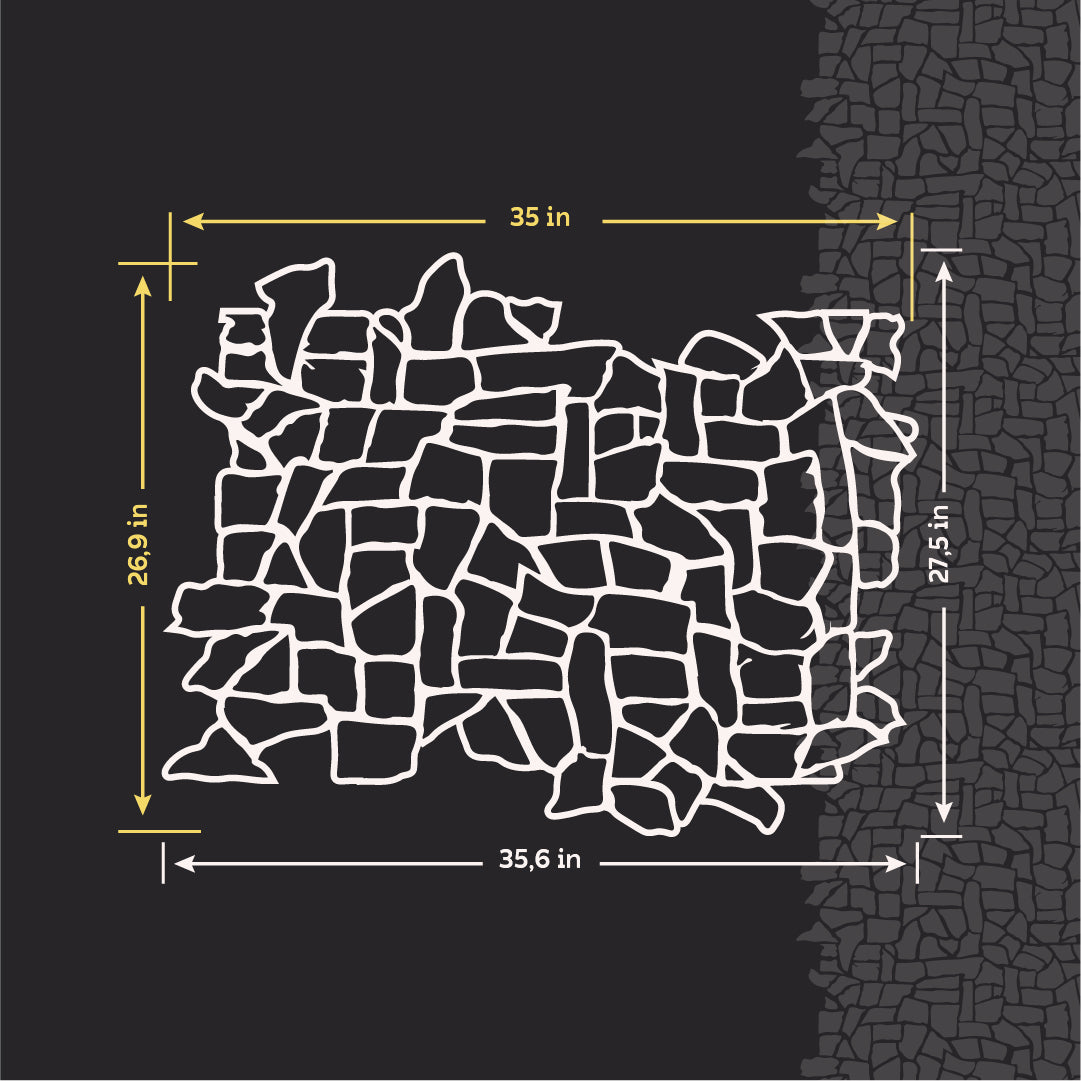

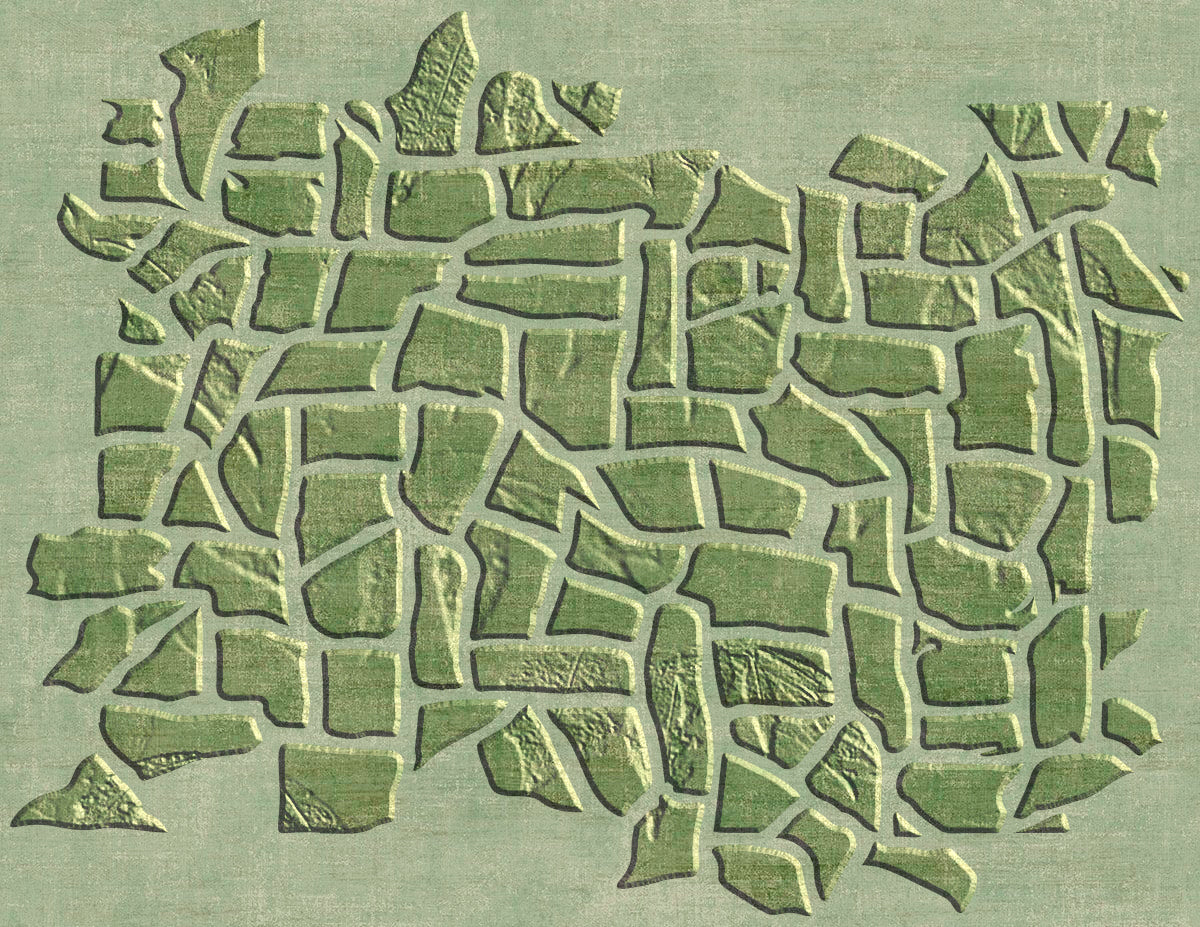
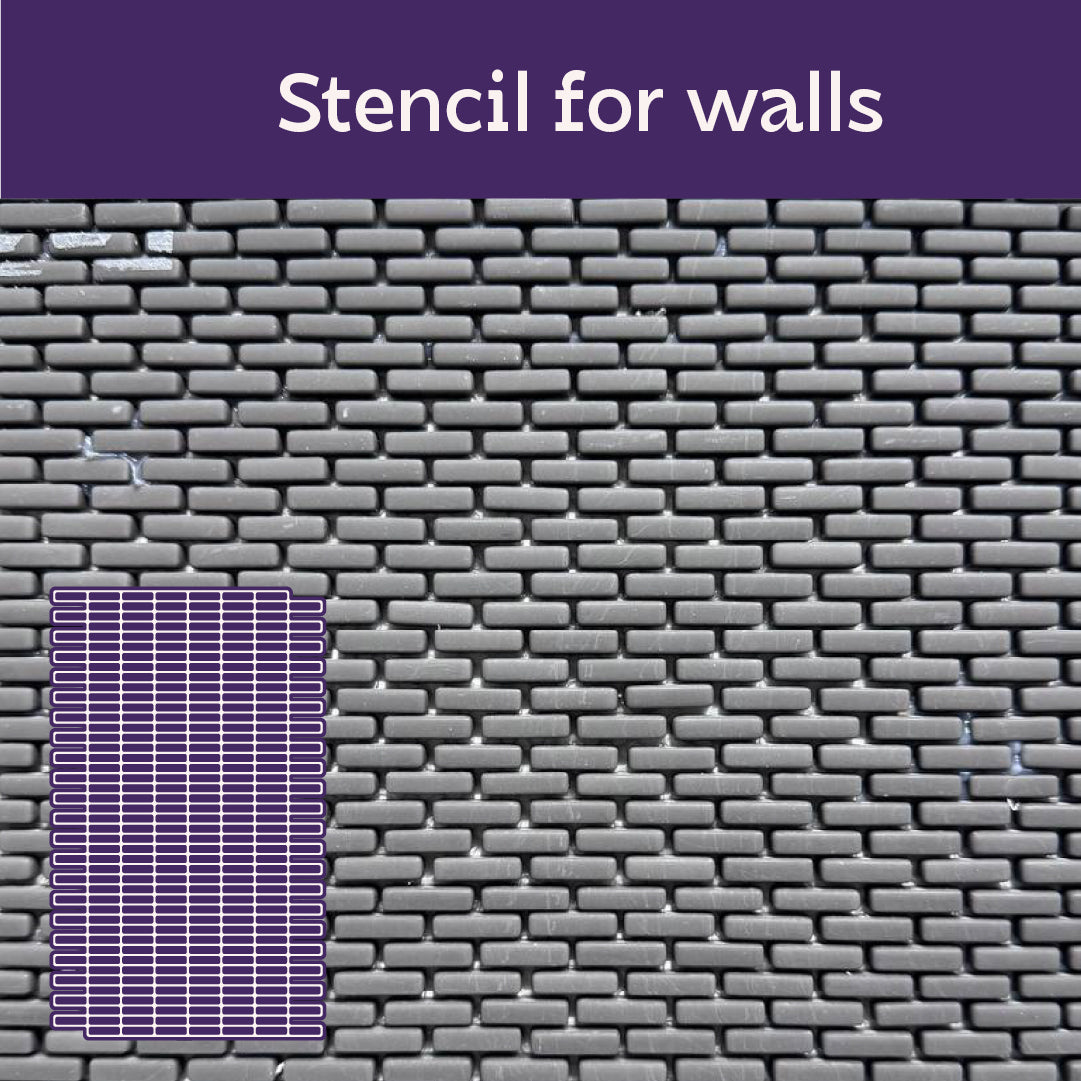
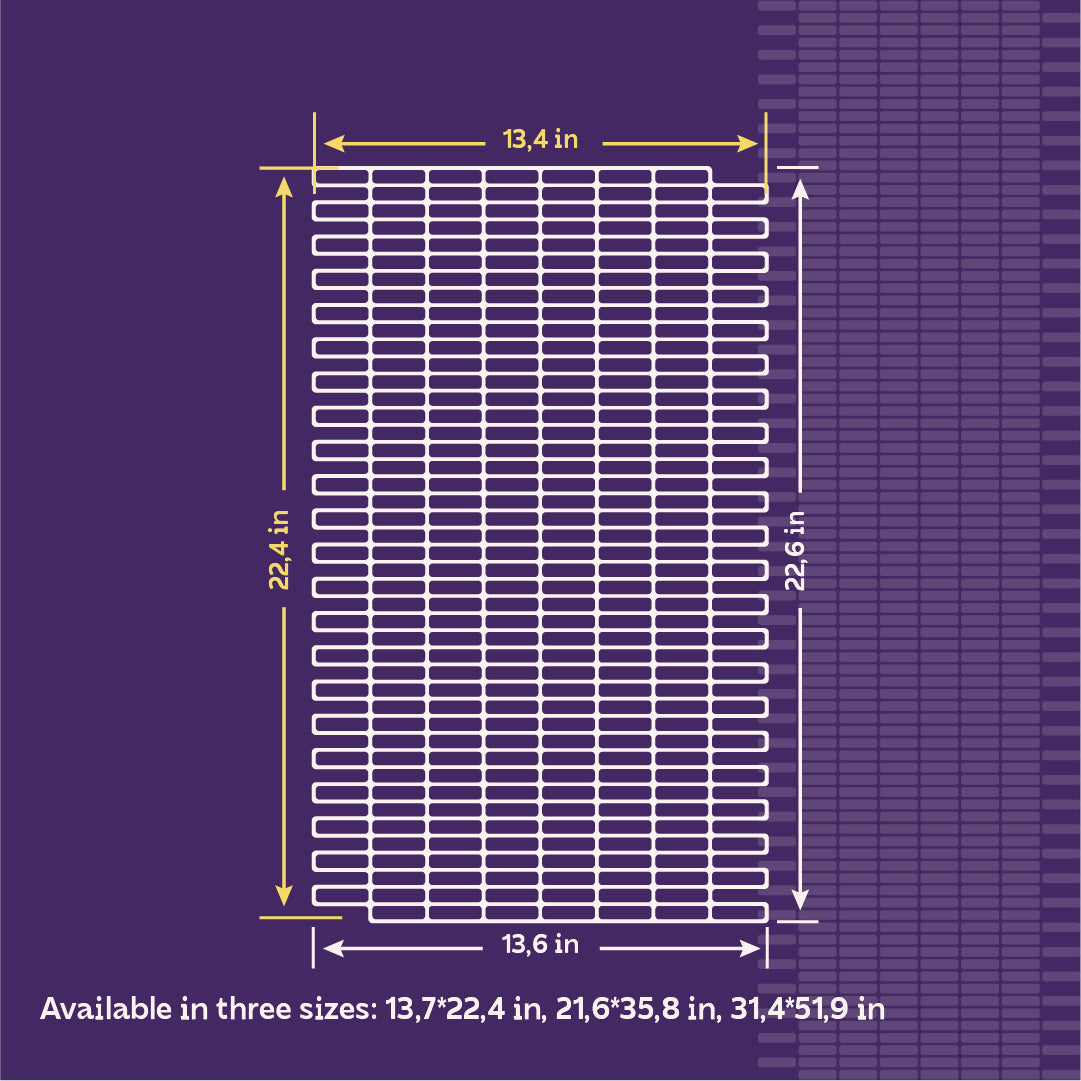
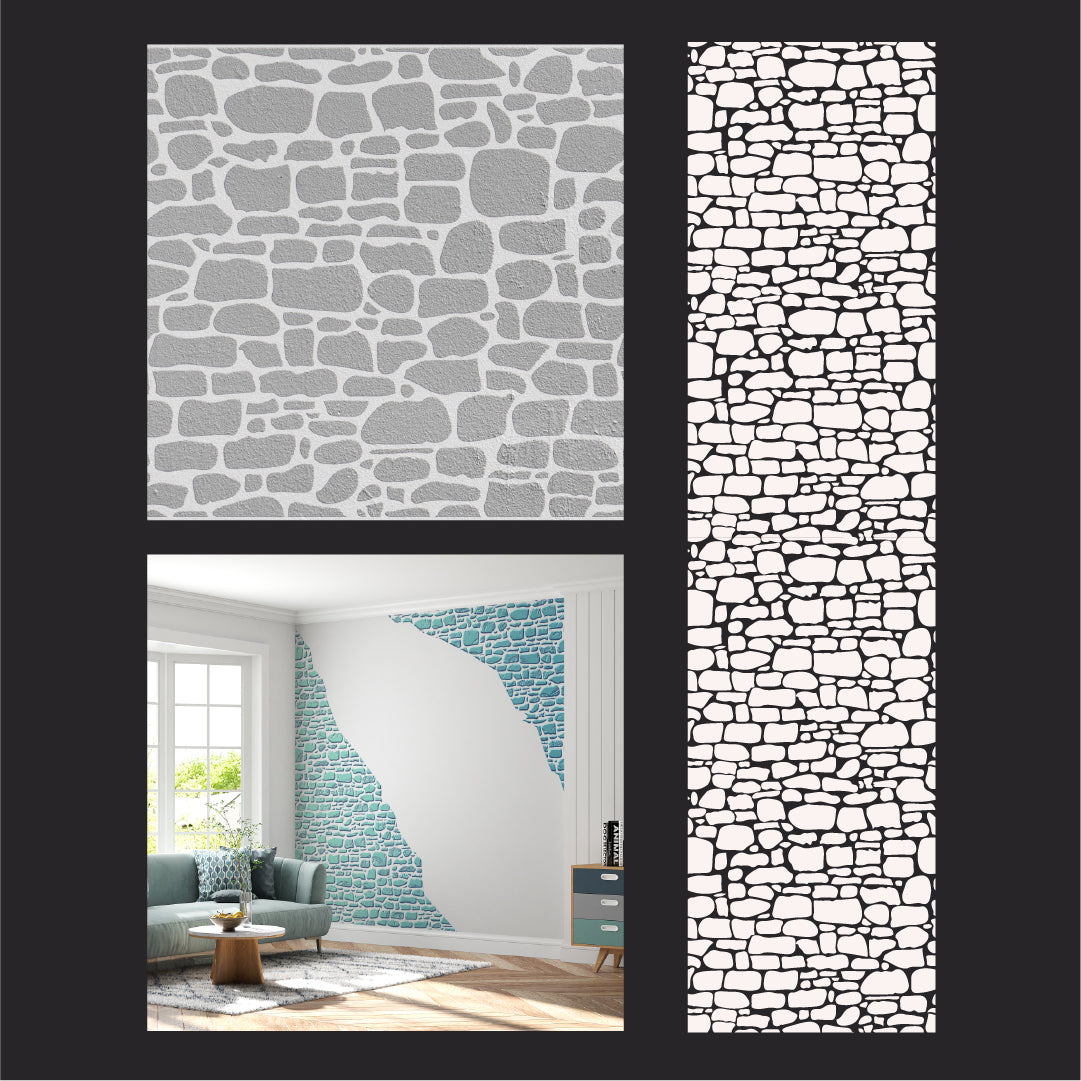
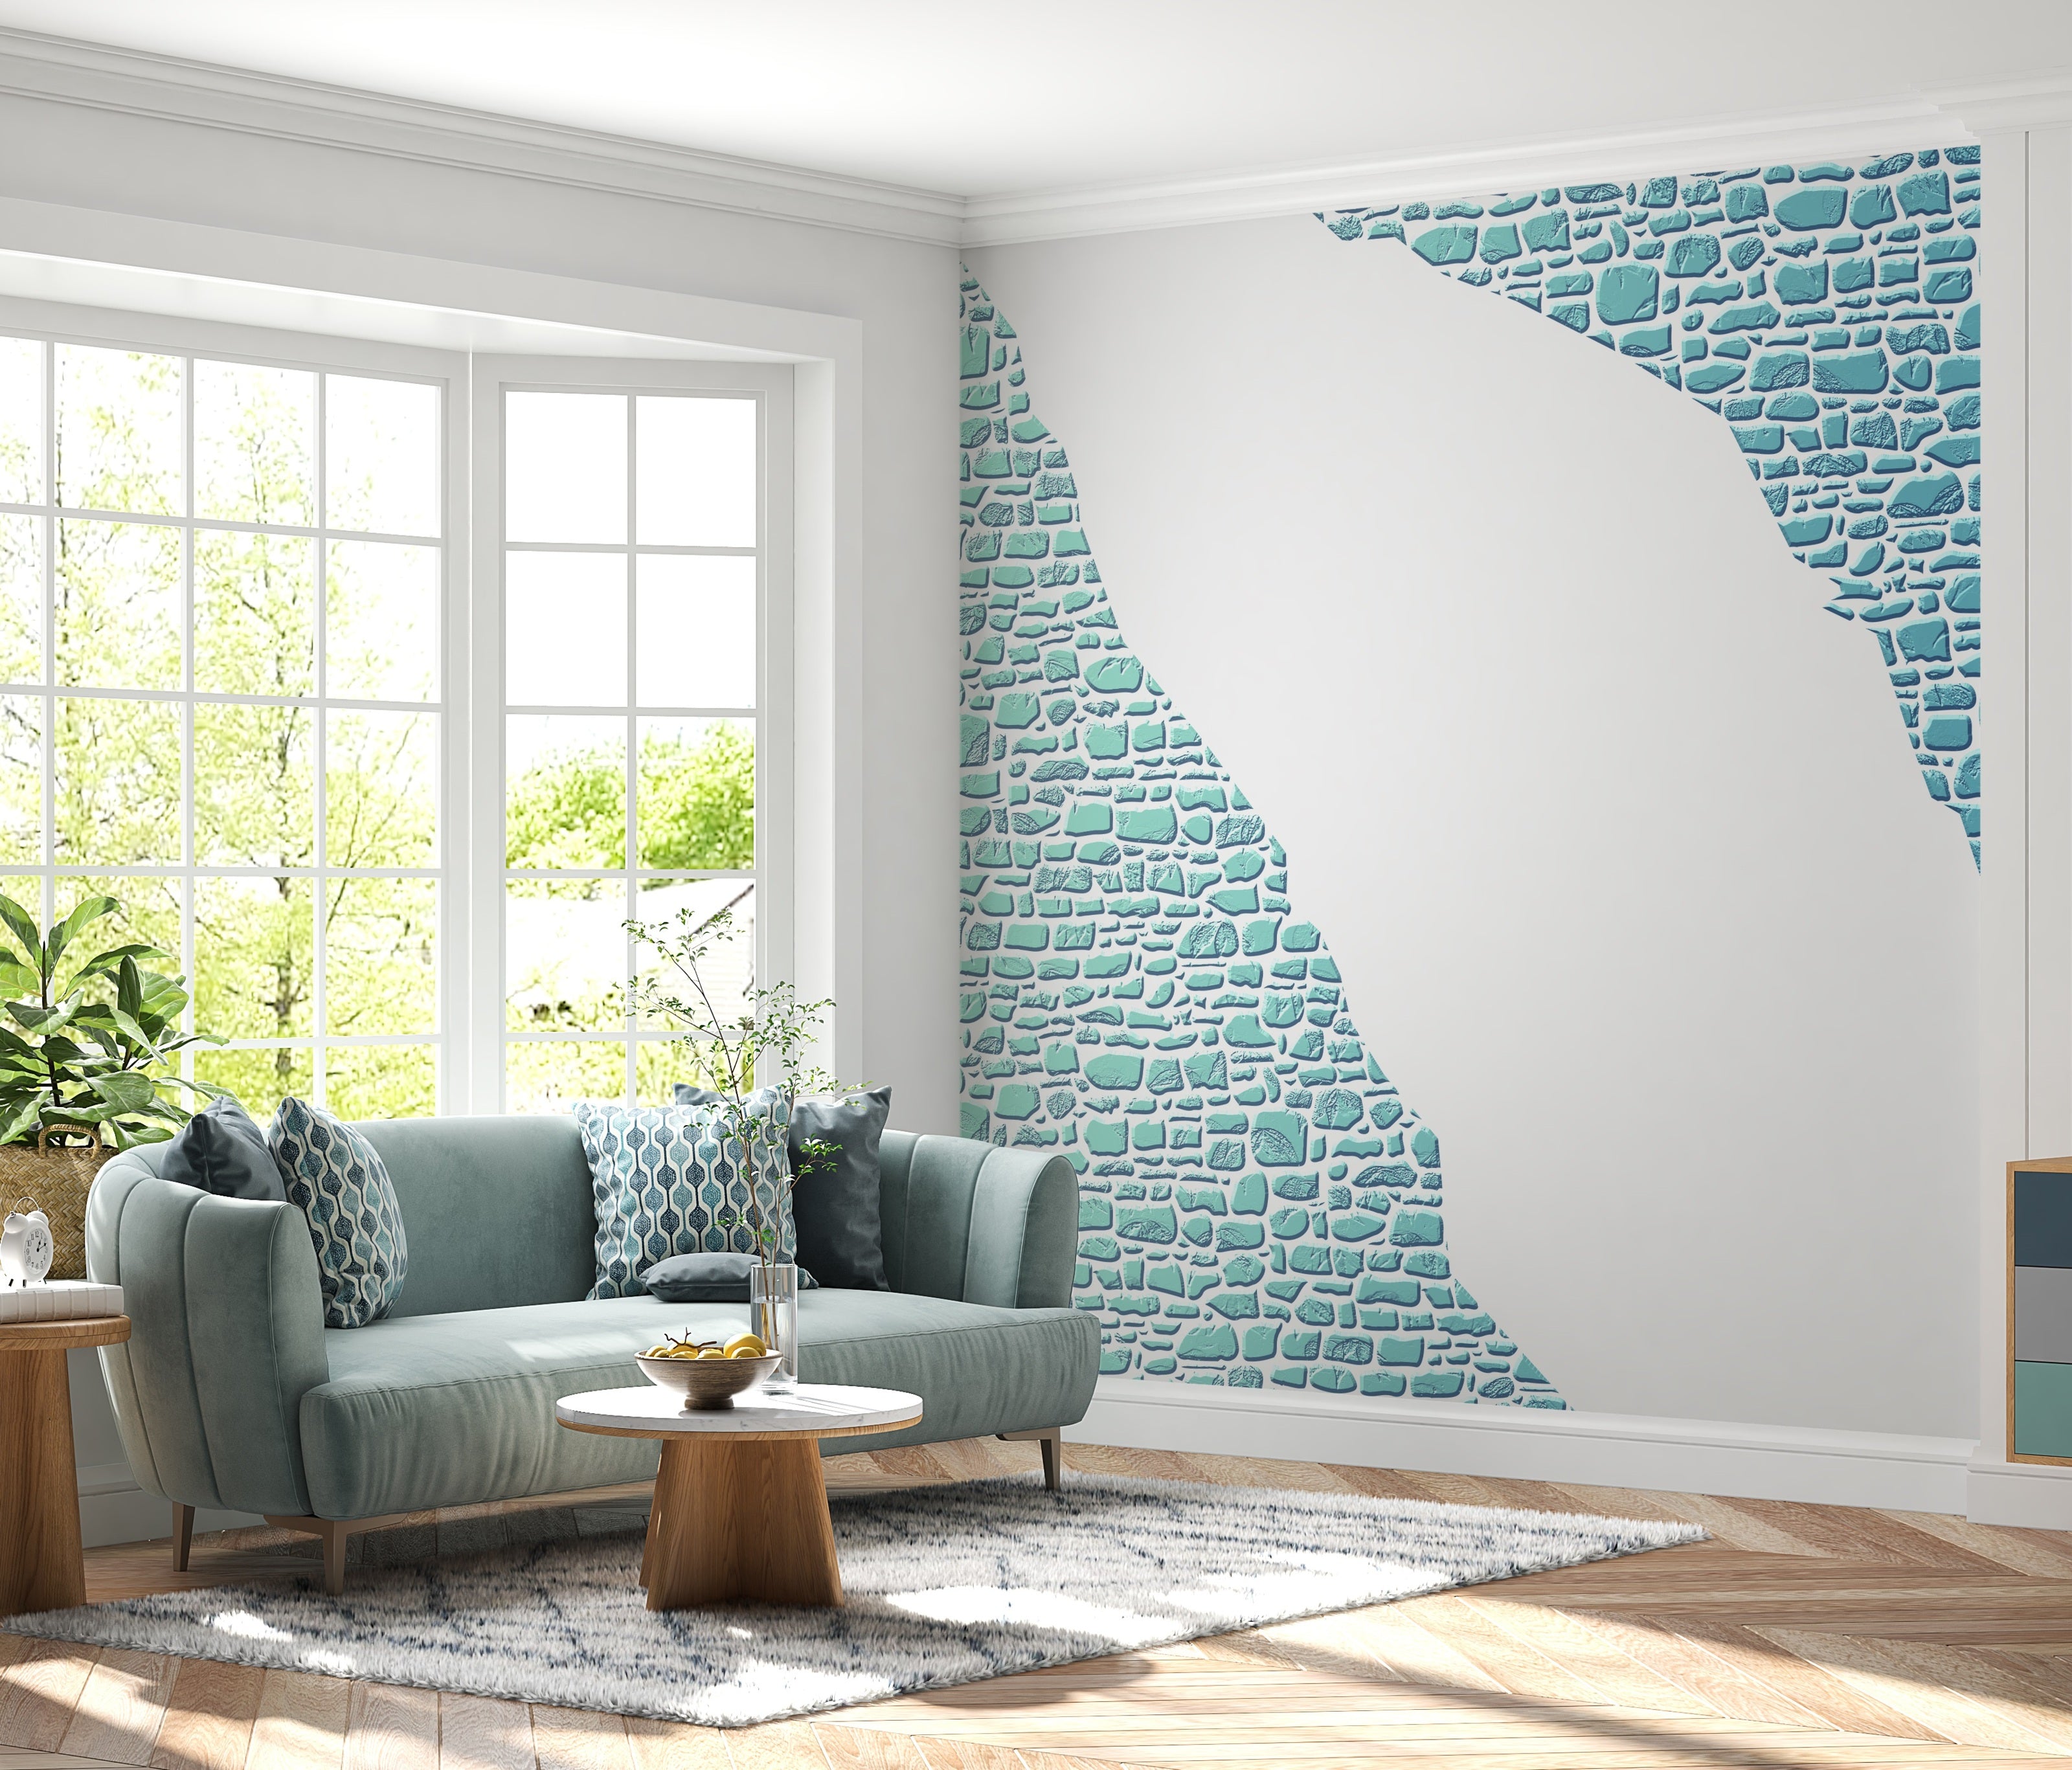
INSTRUCTIONS FOR USING DFA SILICONE TEXTURE MOLDS (IMPRINTS)
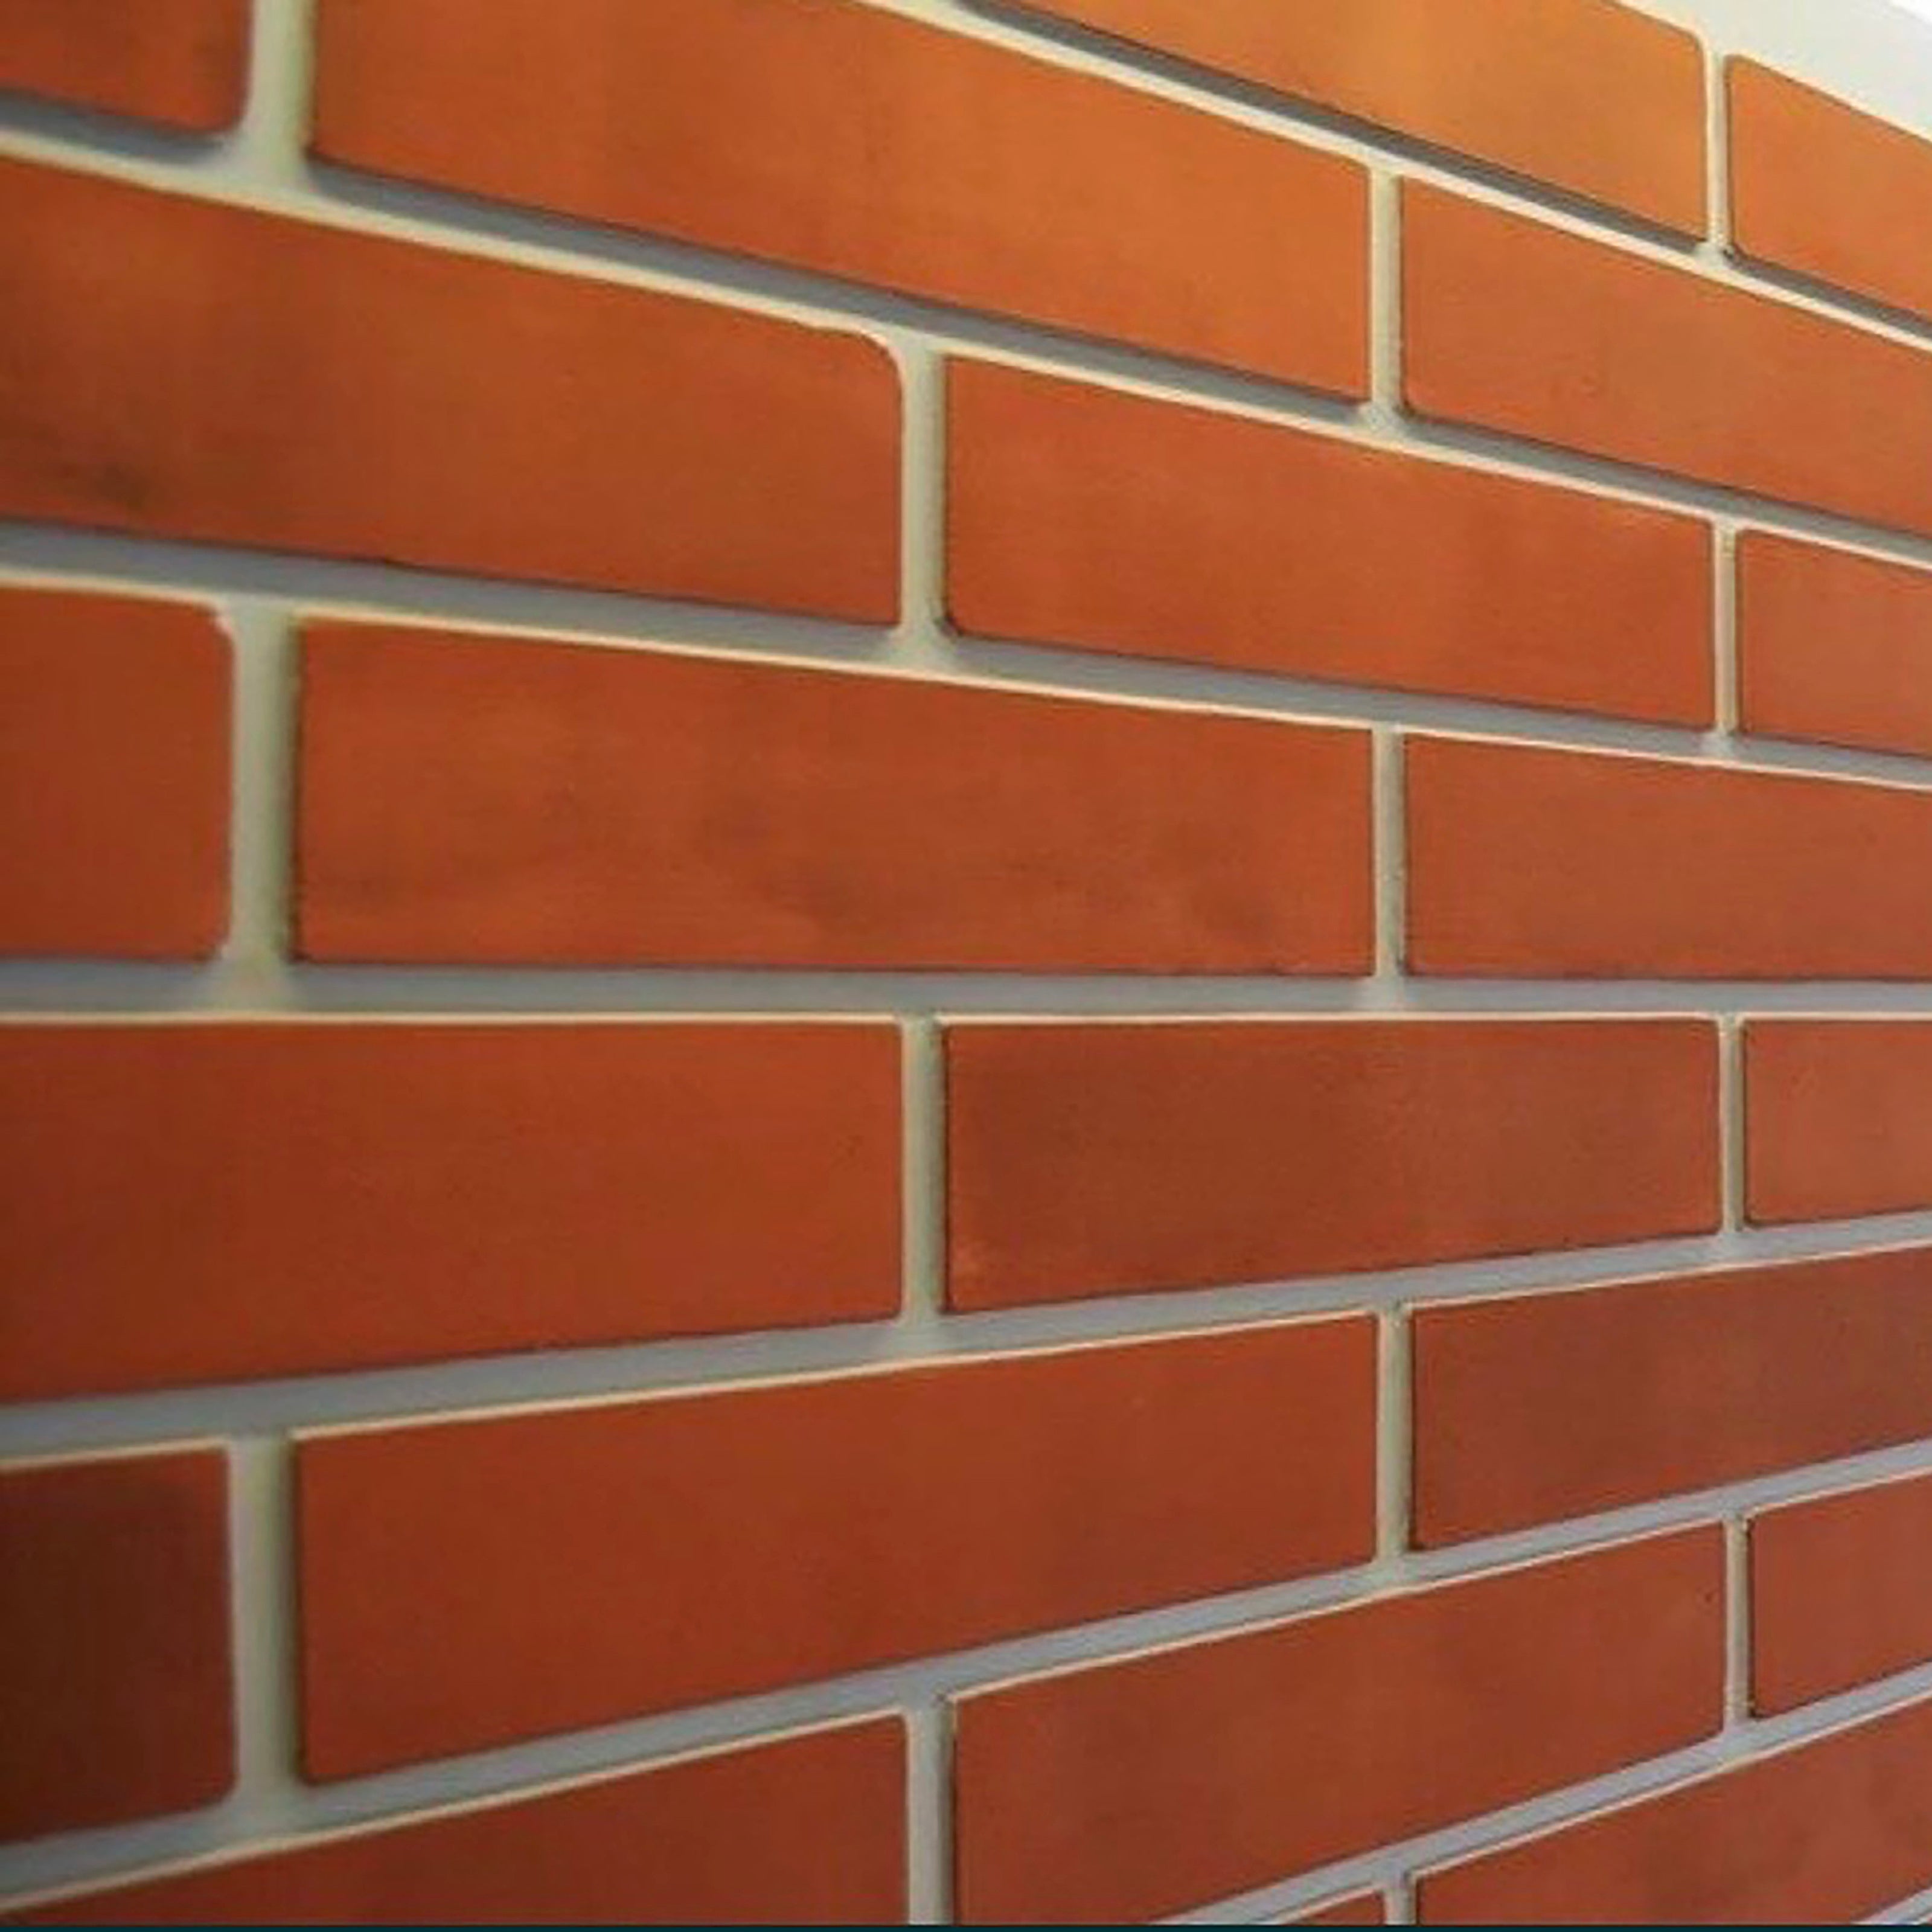
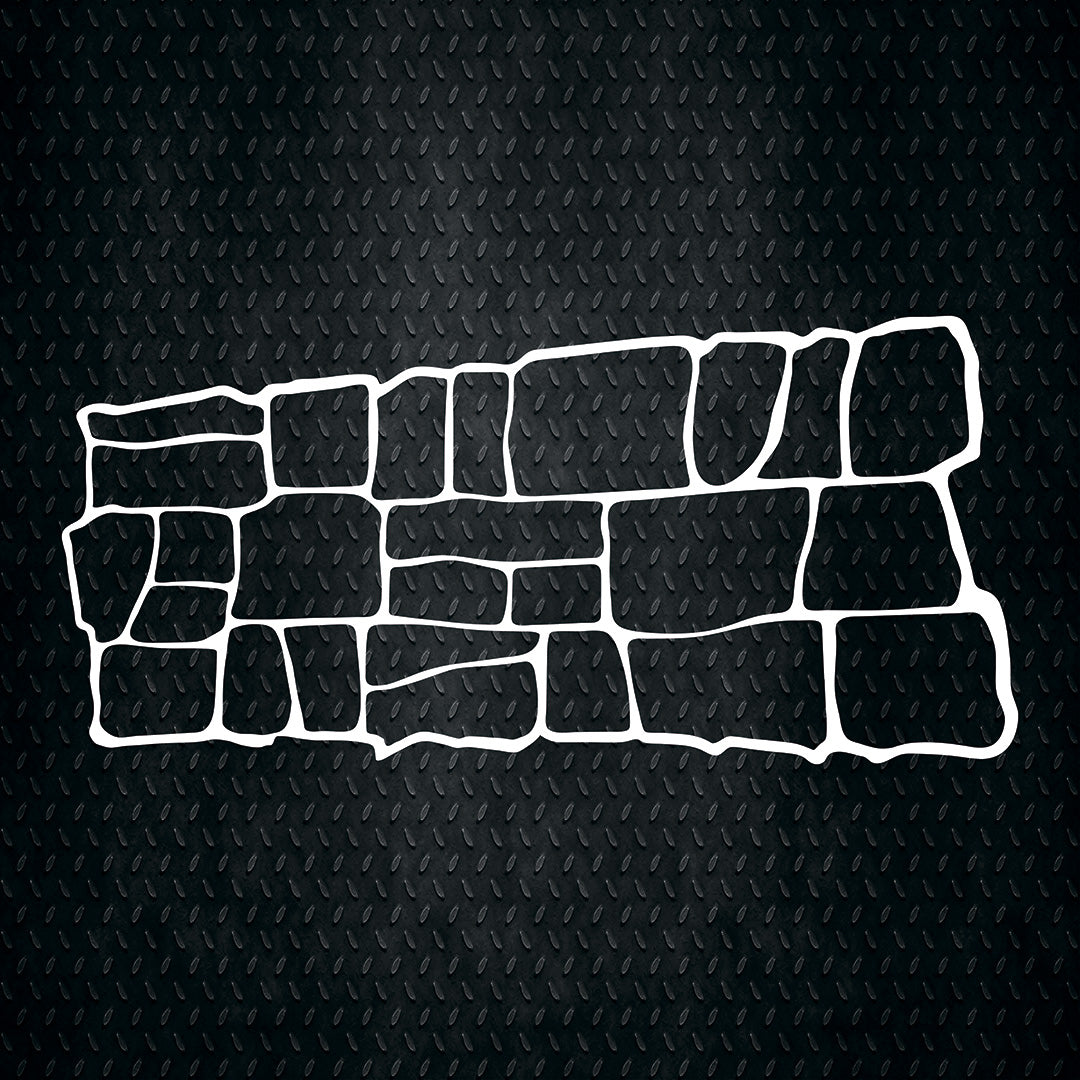
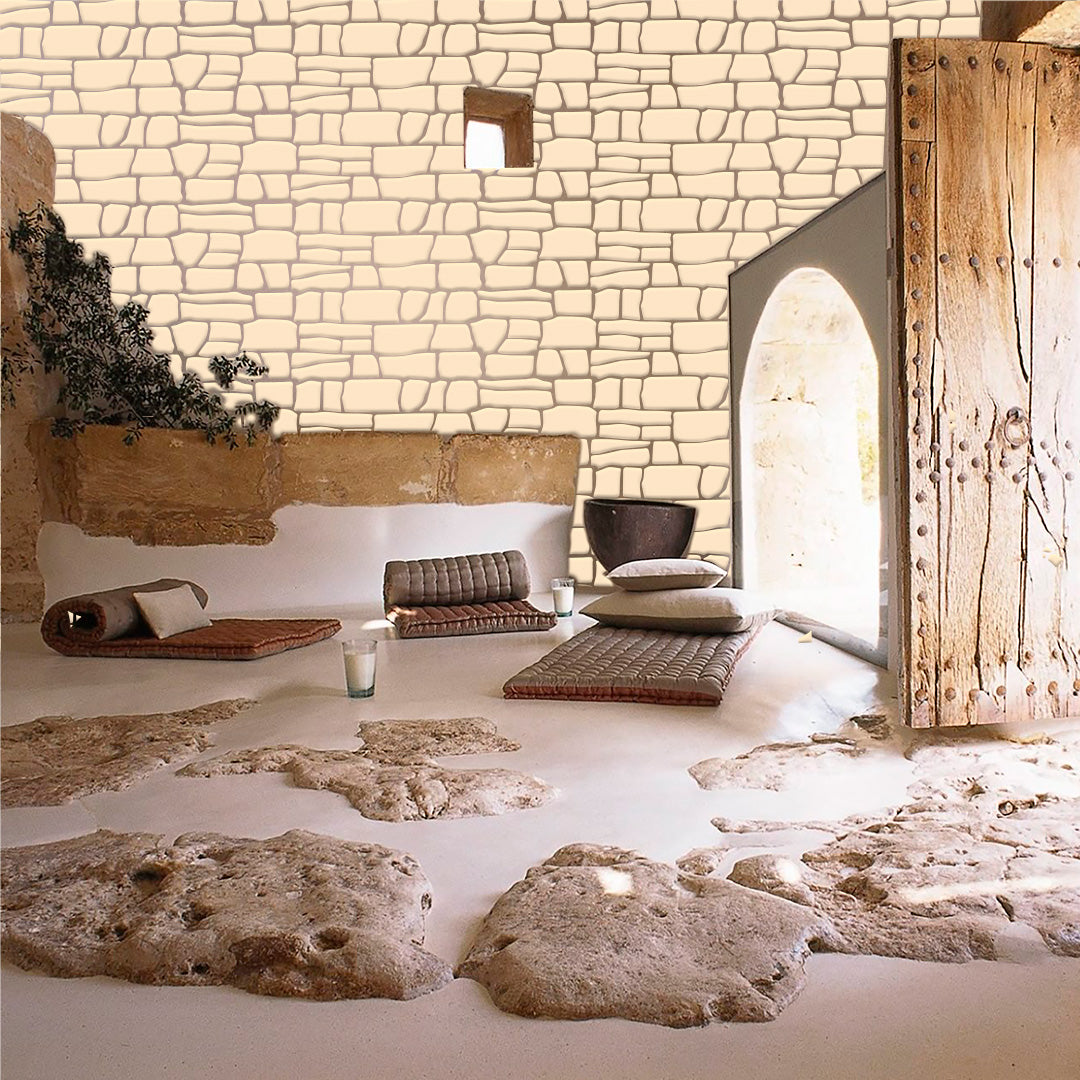
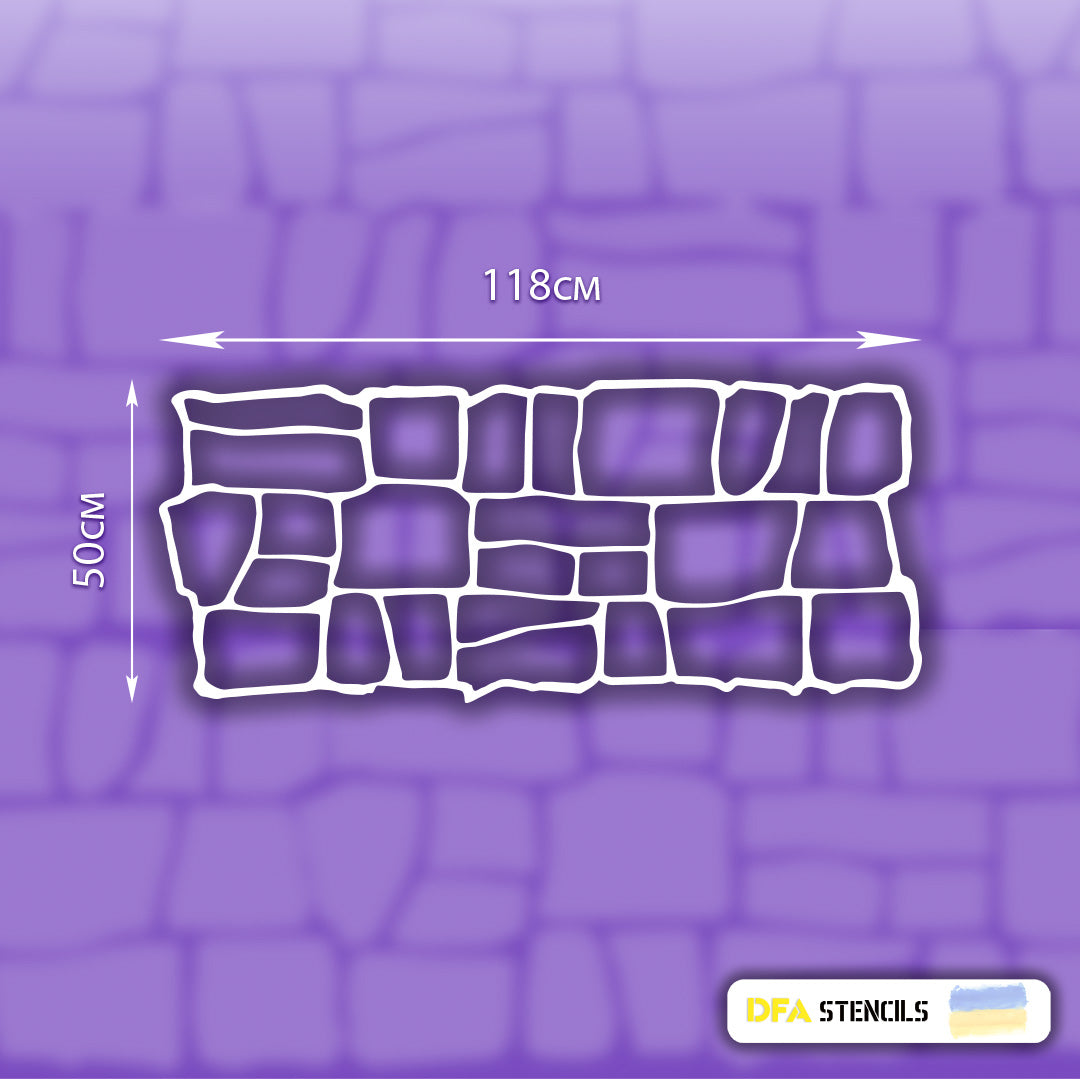
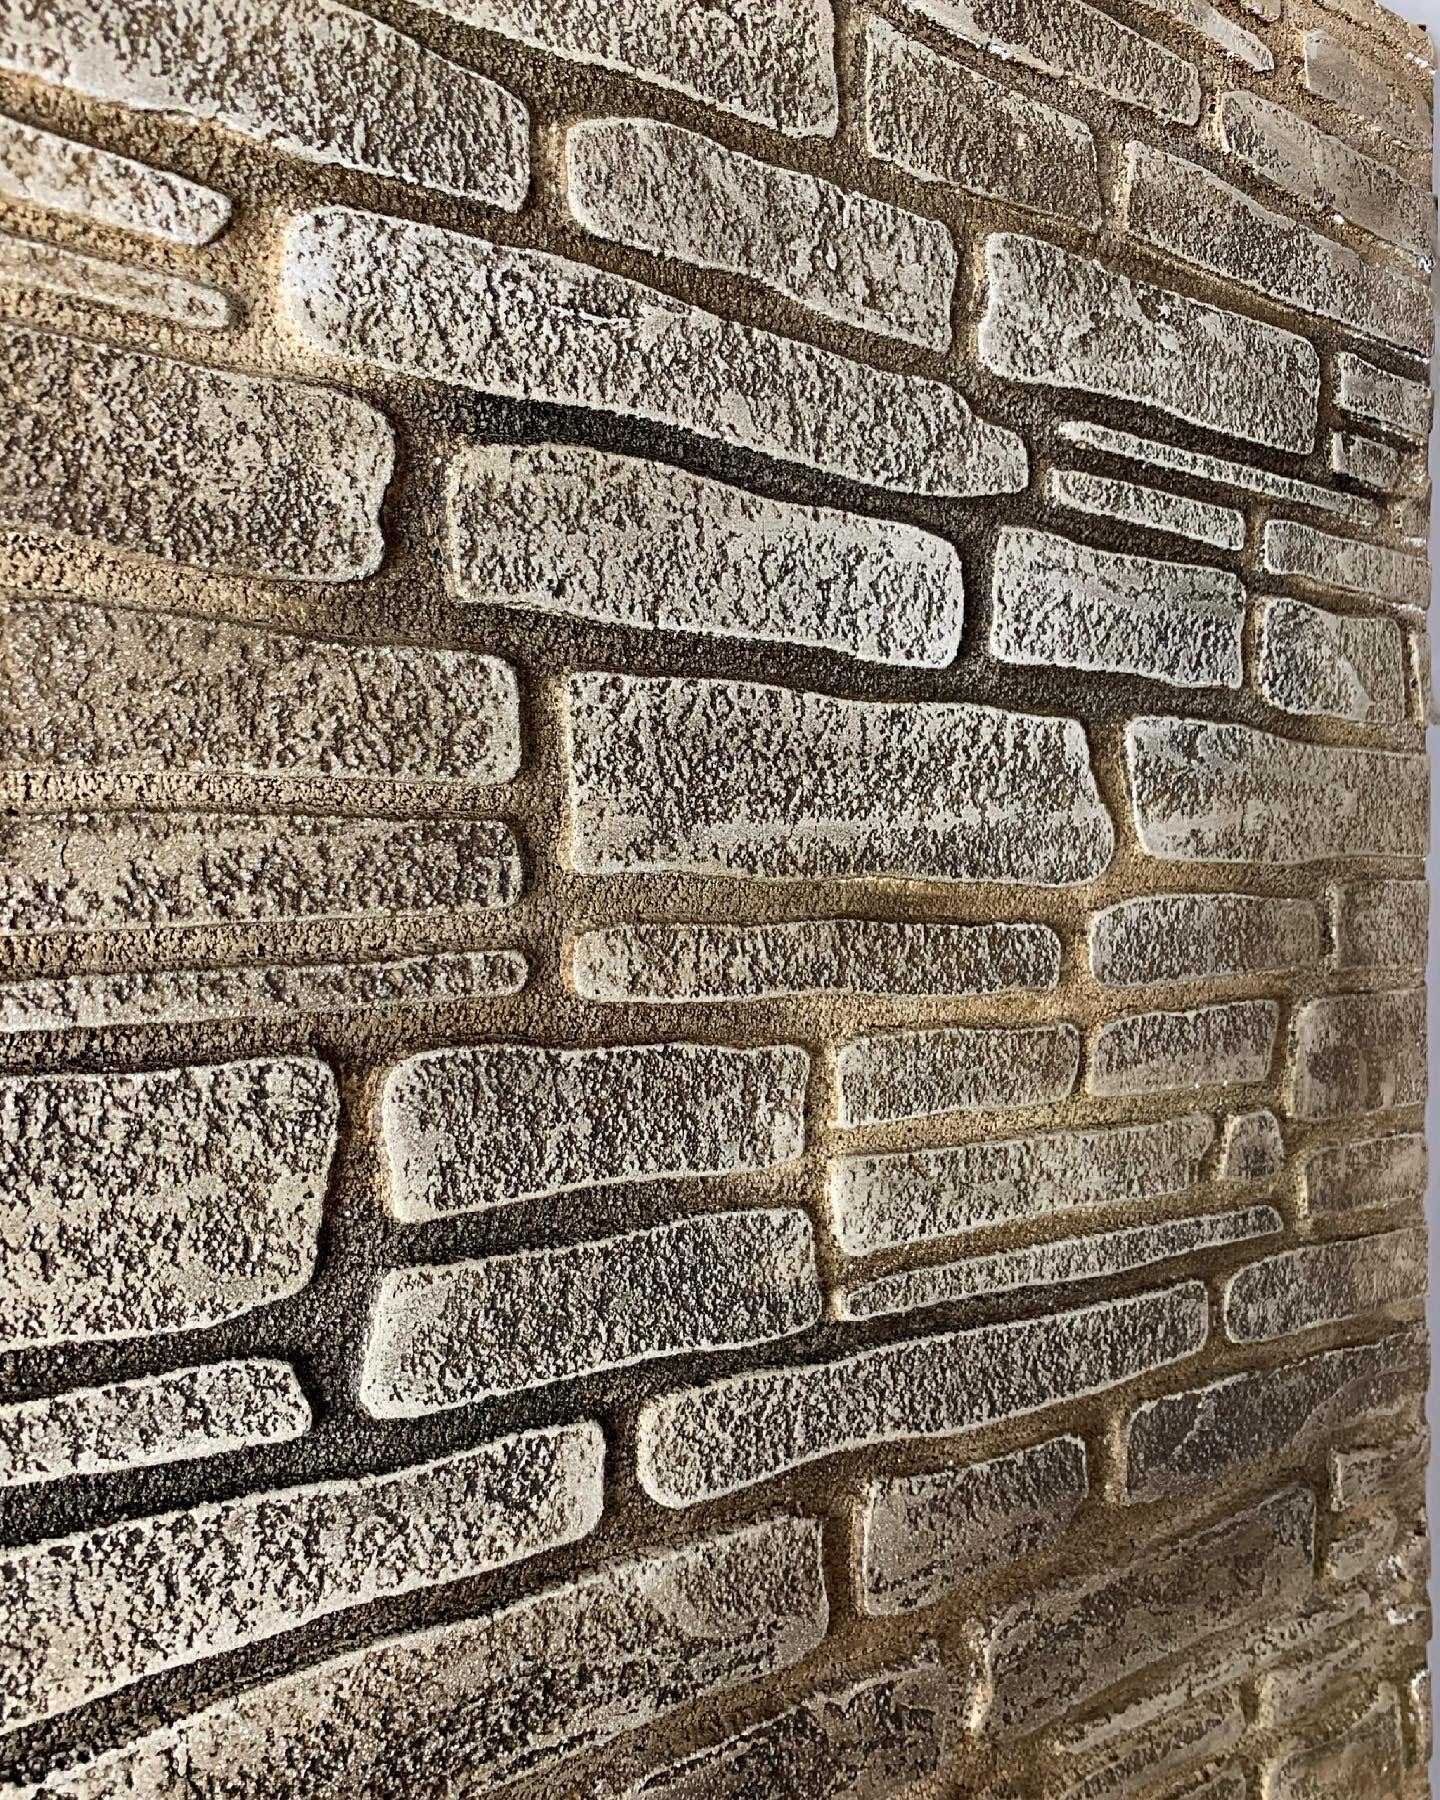
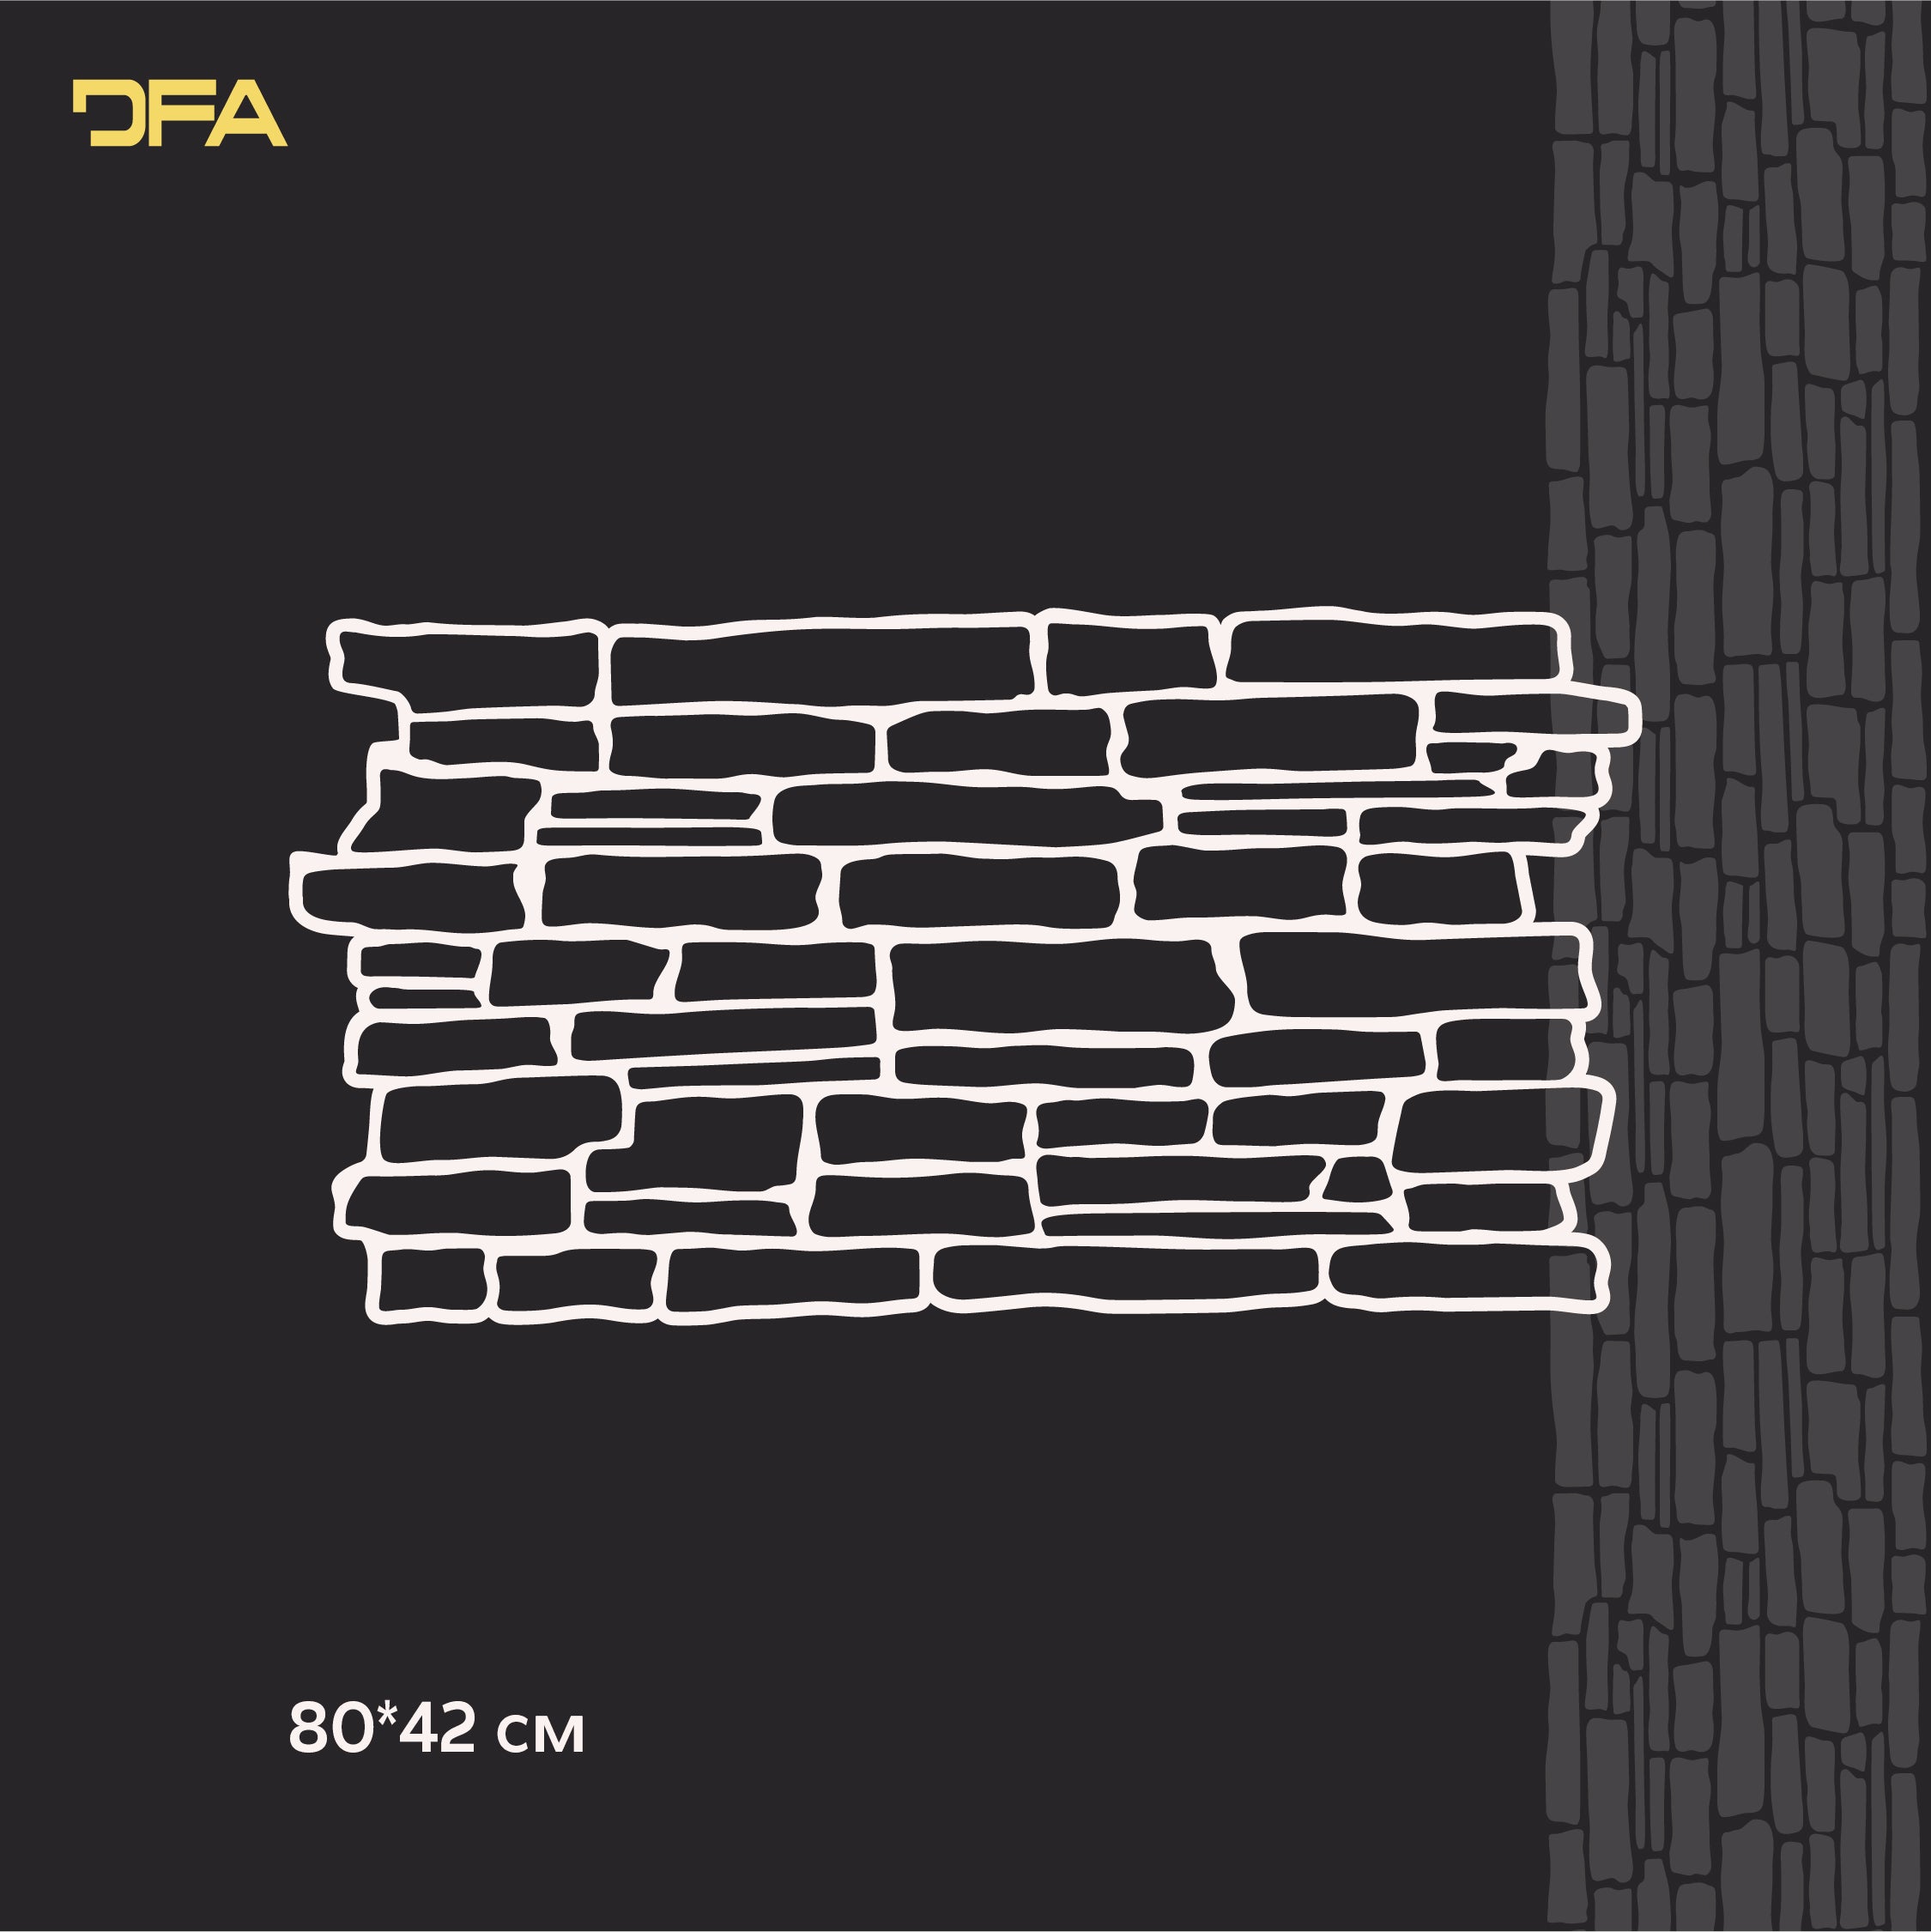
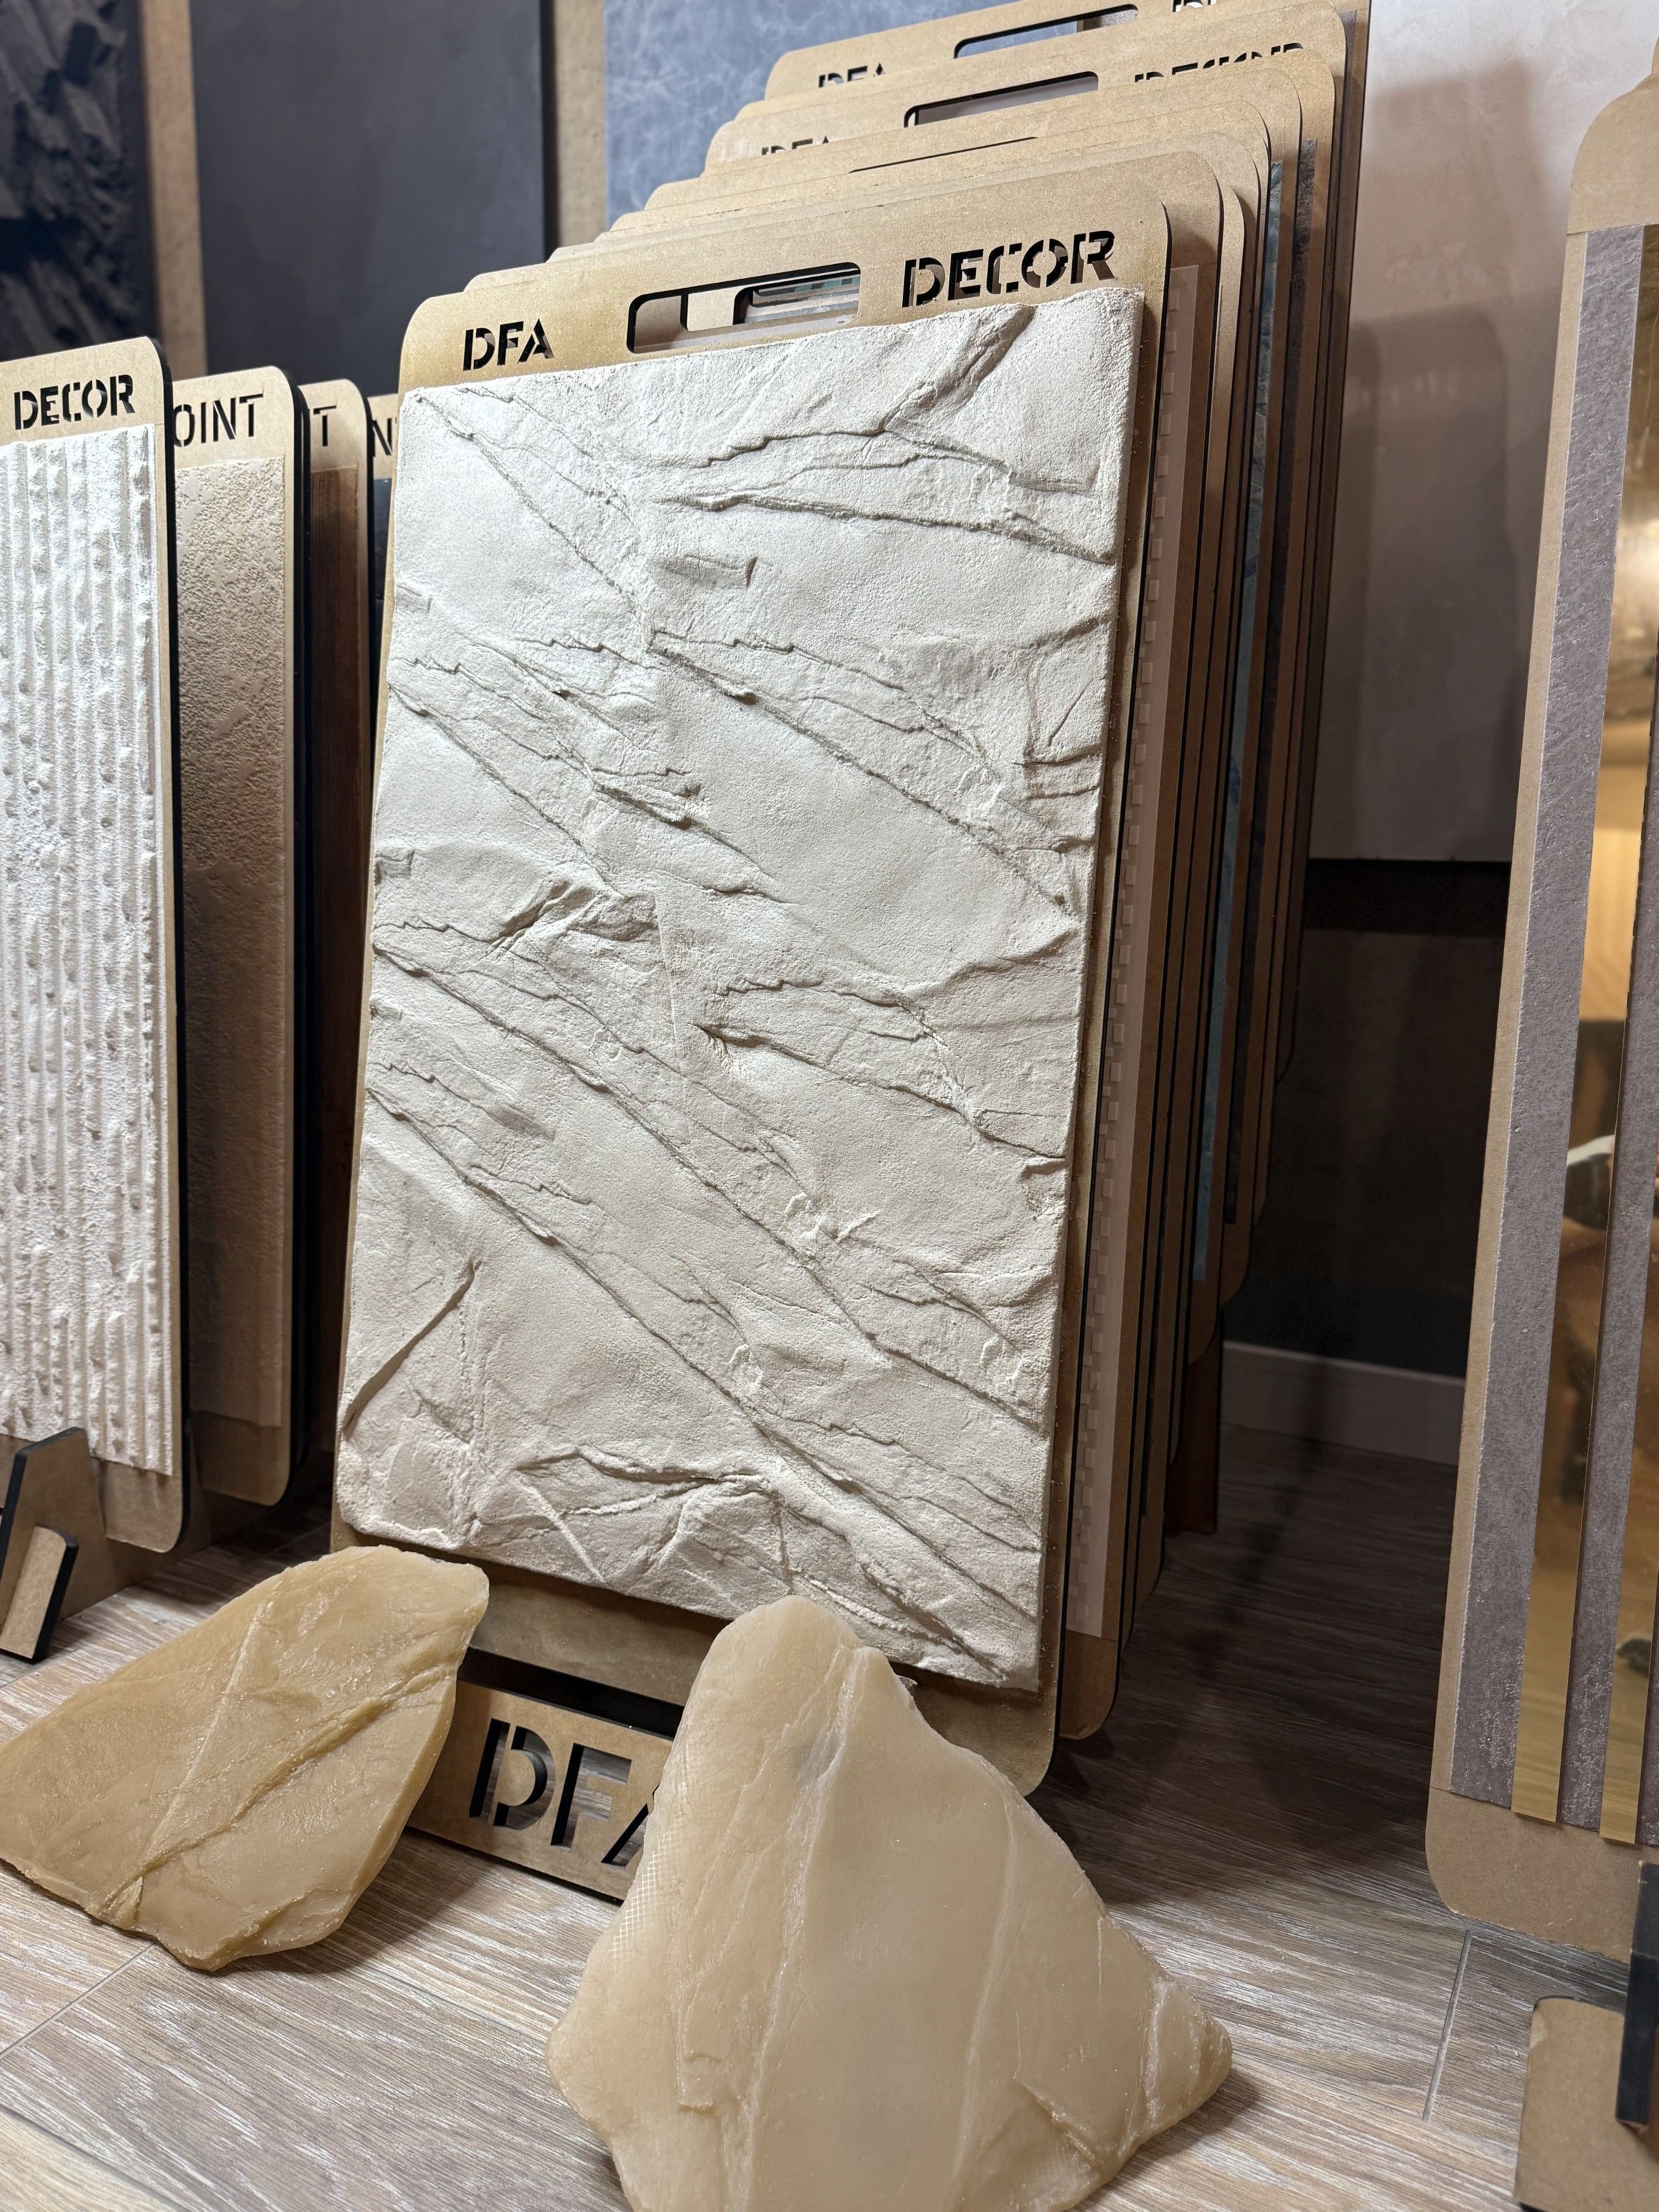
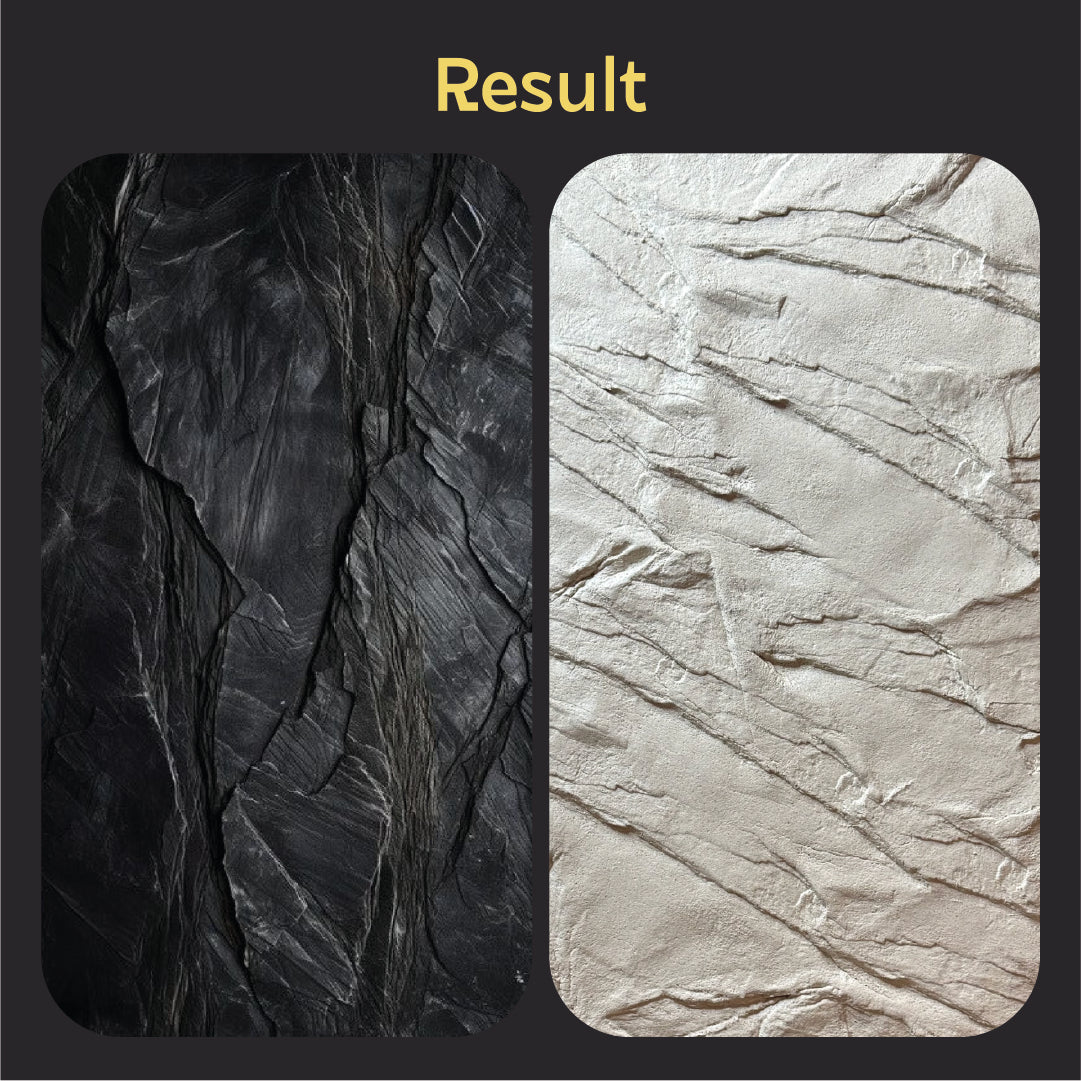
DFA imprints are designed to create realistic textures on decorative surfaces: walls, facades, decorative panels, and other surfaces finished with cement-based or gypsum plaster.
With an imprint, you can quickly create a relief that imitates wood, stone, brick, marble, natural plaster textures, and other decorative surfaces.
1. SURFACE PREPARATION
Before applying the material, the surface must be properly prepared.
The surface should be:
-
clean;
-
dry;
-
strong and stable;
-
free from dust, grease, and dirt;
-
free from loose or peeling areas;
-
as level as required for the desired effect.
If the surface has significant uneven areas, cracks, or damage, they must be repaired beforehand.
For better adhesion of the decorative material to the substrate, use a suitable primer according to the material manufacturer's recommendations.
IMPORTANT: Before starting work, make sure that the primer and all previous layers are completely dry.
2. PREPARE THE REQUIRED MATERIALS
You may need:
-
DFA imprint;
-
cement-based or gypsum plaster, or another suitable plastic material;
-
trowel or spatula;
-
container for the material;
-
primer;
-
release oil for the imprint;
-
water;
-
sponge or soft cloth;
-
painter's tape, if necessary;
-
materials for subsequent painting and tinting of the texture.
3. PREPARING THE IMPRINT
Before the first use, carefully clean the working surface of the imprint from dust and manufacturing residues.
Apply a very thin and even layer of release oil to the working surface of the imprint.
Release oil helps prevent the material from sticking and makes it easier to remove the imprint from the surface.
IMPORTANT: Do not apply excessive amounts of oil, as this may reduce the clarity of the relief.
Before starting work on the entire surface, it is recommended to make a small test imprint.
4. APPLYING THE DECORATIVE MATERIAL
Apply the prepared cement-based or gypsum plaster to the surface using a trowel or spatula.
The thickness of the layer should correspond to the depth of the texture of the specific imprint.
There should be enough material to fully form the relief, but an excessively thick layer may make the work more difficult and increase drying time.
IMPORTANT — DO NOT WORK ON PLASTER THAT IS TOO WET
Do not apply the imprint immediately after spreading the plaster.
The material needs some time to set slightly and release excess moisture.
If you use the imprint on plaster that is too wet, the material may:
-
stick to the imprint;
-
become deformed;
-
pull away with the imprint;
-
lose texture definition;
-
fill and clog the relief of the imprint.
How to Check Whether the Plaster Is Ready for Imprinting
After applying the plaster, wait until it has dried slightly.
Lightly touch the surface with your hand.
If the plaster does not stick to your hand but remains sufficiently plastic, you can proceed with the imprint.
If the material sticks to your hand and stretches with it, the surface is still too wet. Wait a little longer.
The correct moment for imprinting is when the plaster no longer sticks to your hand but is still soft and plastic enough to form the relief.
5. CREATING THE TEXTURE WITH THE DFA IMPRINT
Once the plaster has set slightly and reached the proper consistency, you can begin creating the texture.
Before working, make sure that the working surface of the imprint has a thin and even layer of release oil.
Place the DFA imprint onto the prepared plaster.
Do this smoothly and evenly, without sudden movements.
Carefully press the imprint against the surface so that the texture is transferred evenly to the plaster.
For an even transfer of the texture, you can use light pressing movements with your hands.
It is not recommended to:
-
apply the imprint to plaster that is too wet;
-
apply excessive pressure to one edge;
-
move the imprint sharply sideways;
-
twist or rotate it while pressing;
-
repeatedly press the same area unnecessarily.
Such movements may cause the material to stick, become deformed, or lose texture definition.
6. REMOVING THE IMPRINT
After forming the texture, carefully separate the imprint from the surface.
Start from one edge and gradually pull the imprint away from the material.
Do not pull it sharply perpendicular to the surface.
Proper removal helps preserve the clarity of the relief and prevents damage to the fresh texture.
After removing the imprint, check the result. If some areas are not sufficiently defined, they can be corrected while the material is still plastic.
7. REUSING THE IMPRINT AND JOINING THE TEXTURE
If you need to continue the texture onto an adjacent area, repeat the process.
For a seamless transition:
-
pay attention to the edges of the pattern;
-
align the texture with the previous section;
-
avoid noticeable shifts in the pattern;
-
press the imprint evenly;
-
remove it carefully without damaging the adjacent texture.
Before working on a large area, it is recommended to make a test connection on a small section.
8. WORKING ON CORNERS AND COMPLEX AREAS
Work especially carefully on corners, joints, and small surfaces.
If necessary, the texture can be created in sections.
For complex areas, it is recommended to first test the technique on a sample surface to determine the optimal amount of material and the required pressure.
9. DRYING TIME
After creating the texture, leave the surface to dry completely.
The exact drying time depends on:
-
the type of decorative material;
-
layer thickness;
-
temperature;
-
air humidity;
-
ventilation;
-
type of substrate.
IMPORTANT: Do not begin painting or further finishing until the material is completely dry.
Always follow the recommendations of the decorative material manufacturer first.
10. PAINTING AND TINTING
After the texture has completely dried, the surface can be painted or tinted.
To emphasize the relief, you can use:
-
base painting;
-
glazing;
-
patina;
-
applying a second shade to raised areas;
-
applying a darker tone to recessed areas;
-
dry-brush technique;
-
multi-layer tinting.
Combining texture with tinting allows you to achieve a highly realistic decorative effect.
11. CLEANING THE IMPRINT AFTER USE
After completing the work, the imprint must be cleaned of any remaining material.
It is recommended to:
-
do not allow the material to dry on the imprint;
-
rinse the imprint immediately after use according to the type of material used;
-
use a soft sponge or cloth if necessary;
-
do not use sharp objects to clean the relief;
-
do not scrub the surface with harsh abrasives;
-
dry the imprint completely before storing it.
Pay particular attention to cleaning the recessed areas of the texture, as leftover material may affect the quality of subsequent use.
12. STORAGE
Store the imprint:
-
clean;
-
dry;
-
in a flat, unfolded position;
-
away from sharp objects;
-
without strong mechanical pressure;
-
away from excessive heat and direct heat sources.
Do not fold or deform the imprint in a way that would leave it creased for a prolonged period.
13. HOW TO ACHIEVE THE SHARPEST TEXTURE
Rule №1 — Proper consistency.
The material should be neither too liquid nor too dry.
Rule №2 — Proper layer thickness.
The layer must be thick enough to fully form the relief.
Rule №3 — Proper timing.
The material should be neither too wet nor already too dry.
Rule №4 — Even pressure.
The imprint should be pressed without sudden changes in pressure.
Rule №5 — Proper removal.
Remove the imprint gradually, starting from the edge.
Rule №6 — Test sample.
Before working on a large area, always test the technique on a small section.
14. COMMON MISTAKES
The texture is not clearly defined
Possible causes:
-
the material is too dry;
-
insufficient layer thickness;
-
insufficient contact between the imprint and the material;
-
incorrect material consistency.
The material sticks to the imprint
Possible causes:
-
insufficient release oil;
-
incorrect type of release oil;
-
the material is too soft or wet;
-
the imprint is removed at the wrong time.
The pattern becomes distorted
Possible causes:
-
the imprint moves while being pressed;
-
uneven pressure;
-
the imprint is twisted or rotated on the surface;
-
the material is applied unevenly.
Visible seams between imprints
Possible causes:
-
incorrect pattern alignment;
-
uneven material thickness;
-
the imprint has shifted;
-
insufficient attention to the edges of the texture.
15. RECOMMENDATION BEFORE STARTING WORK
If you are using a DFA imprint for the first time, we recommend making a small test sample first.
It can be used to determine:
-
the optimal material thickness;
-
the required consistency;
-
the appropriate pressure;
-
the optimal moment for removing the imprint;
-
the best method for joining the pattern;
-
the subsequent painting method.
This will help prevent mistakes on the finished surface.
IMPORTANT
Before using a specific decorative material, always read the manufacturer's recommendations. The application method, layer thickness, working time, and preparation requirements may vary depending on the material.
DFA — create a texture that makes your interior unique.