


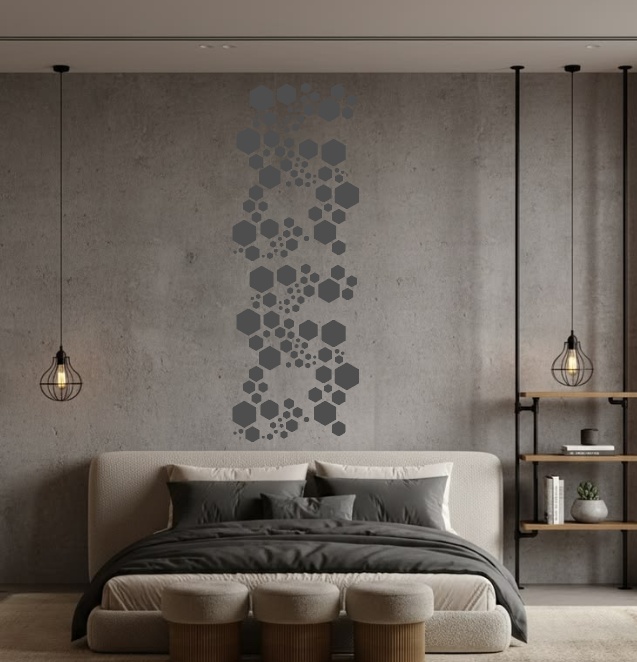
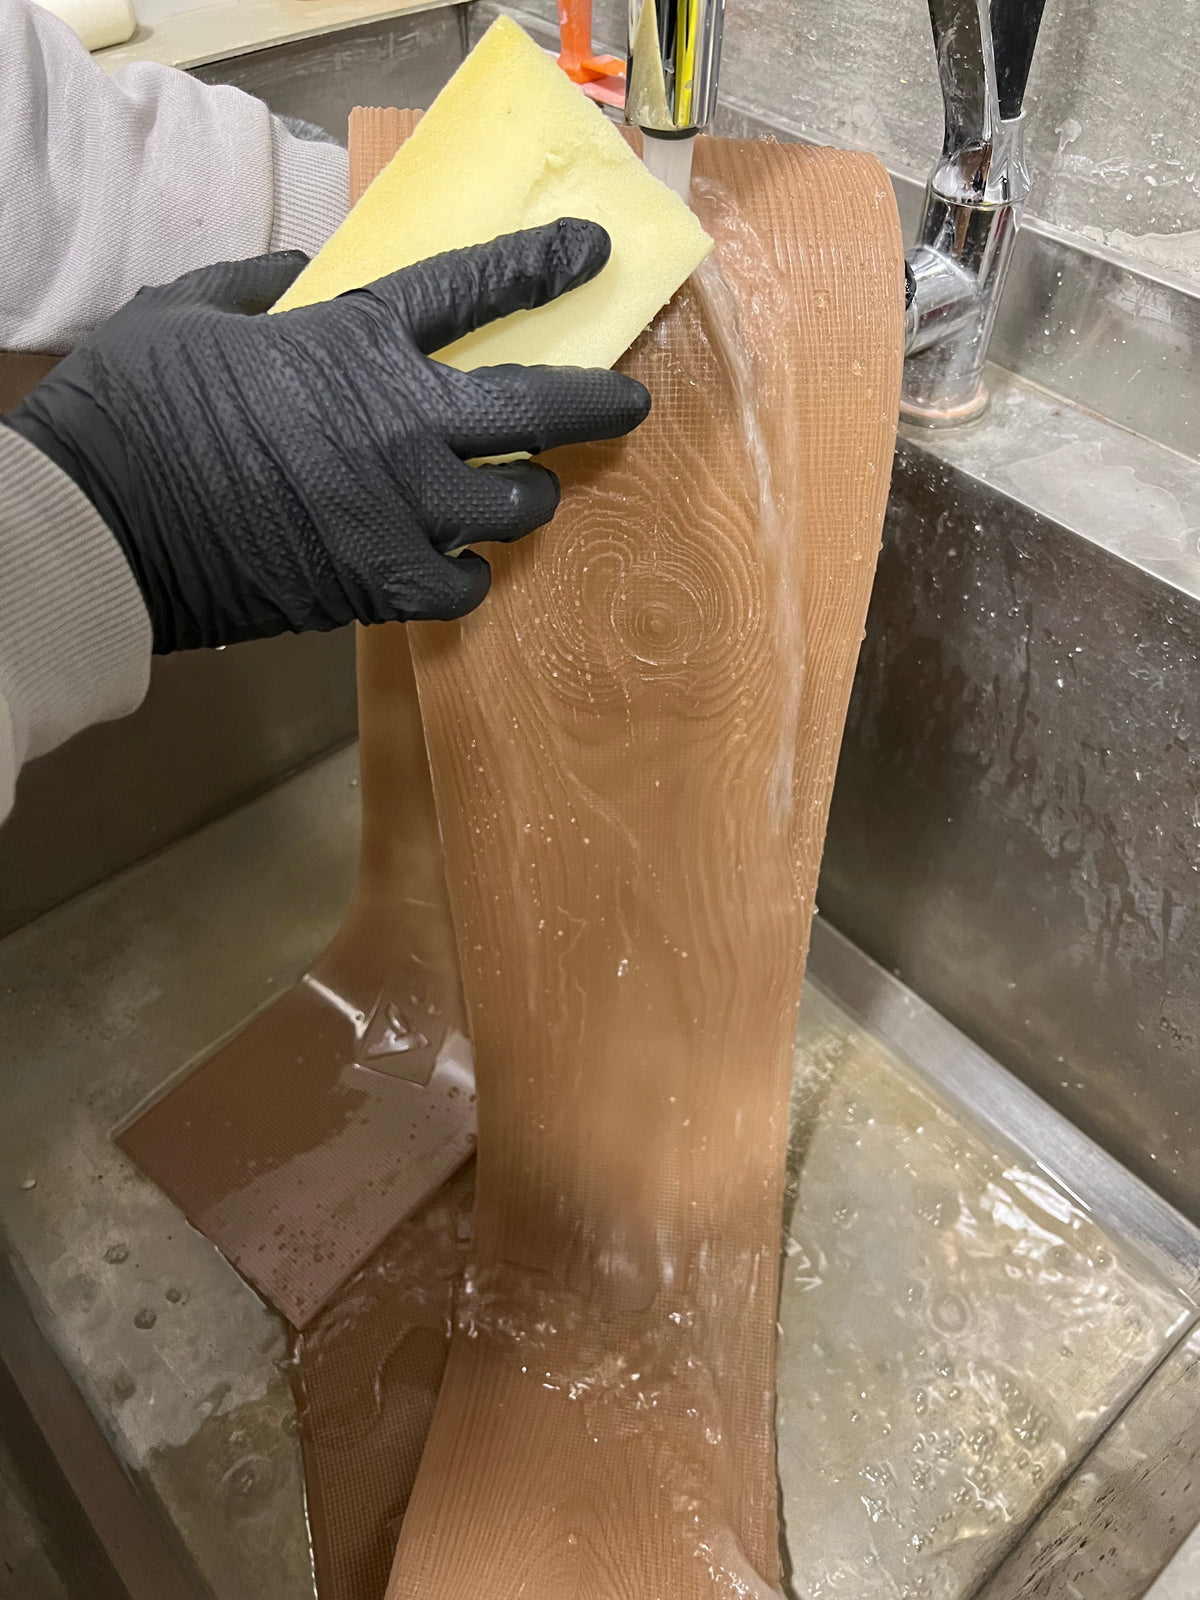
Finishing the wall is only part of a stencil project. Before putting your tools away, it helps to check the template for leftover material and give it a suitable place to dry and stay flat. A simple cleanup routine makes it easier to pick up the same pattern for your next decorating project.
Quick Answer
Clean a reusable stencil promptly after use, following the instructions for both the stencil and the material you applied. DFAdecor recommends warm water, a soft sponge and a little mild dish soap when needed, followed by complete drying and flat storage. Avoid folding the template or using abrasive tools to clean it.

When Should You Clean a Wall Stencil?
Do not wait until every part of a large project is finished to check the stencil. Look at it when you lift it from the wall: is there fresh material underneath, buildup around the openings, or residue that could transfer onto the next section?
Clean it before changing paint colors. Also pause if material is collecting around fine details or the stencil is no longer sitting evenly against the surface.
There is no useful rule such as “wash after every five repeats.” The pattern, material and application method vary. The condition of the stencil is a better guide than the number of times you have used it.

Keep a cleanup area ready before you start. This makes it easier to deal with residue while it is fresh rather than leaving the stencil aside and discovering hardened material later.
How to Clean a Stencil After Painting
First, check the paint label. Water cleanup instructions apply to paints that are designed to be cleaned with water; they are not a universal method for every coating.
For a compatible water-cleanable paint:
- Support the stencil. Handle it over a flat surface or a suitably sized washing area so delicate sections do not hang unsupported.
- Rinse with warm water. Start gently rather than scrubbing immediately.
- Use a soft sponge. Work carefully around the cutouts. Add a small amount of mild dish soap if needed.
- Check both sides. Pay particular attention to material on the side that rests against the wall.
- Rinse and dry completely. Before using the stencil again, check for remaining moisture and residue.
If you are using a paint with different cleanup requirements, check whether its recommended cleaner is also suitable for the stencil. Do not assume that a cleaner safe for a painting tool is safe for every template material.
What If Paint or Plaster Has Already Dried?
Fresh residue and hardened residue may need different treatment. If material does not come away with the approved gentle cleaning method, avoid forcing it off.
Metal scrapers, abrasive pads and aggressive pulling can damage small bridges between cutouts. Those bridges are part of the design: bending or tearing them can change how the pattern prints.
For dried paint, consult the paint manufacturer’s cleanup guidance and confirm cleaner compatibility with the stencil supplier. For hardened plaster or texture paste, check the material instructions before attempting removal. Avoid experimenting with solvents or prolonged soaking when their suitability is unknown.
If you are unsure about a DFAdecor stencil, contact the team with the product name and the material you used. A photograph of the residue can help explain the problem.
How to Store Reusable Stencils
Store the stencil clean, fully dry and flat, away from direct sunlight and heating appliances. Avoid folding it to fit a smaller space.
For a small collection, consider a flat folder, shallow drawer or shelf that supports the whole sheet. Choose a storage space large enough for the stencil, including its outer edges. Do not force an oversized template into a container that bends it.
If you keep several patterns together, organize them so you can retrieve one without catching its cutouts on another sheet. A label on the folder or storage divider can identify the design and size without needing to mark the working pattern itself.
This is particularly helpful when a project uses a stencil set: keeping its components together makes it easier to find the right pieces when you return to the design.
Check the Stencil Before Reusing It
Before placing a stored stencil on a freshly prepared wall, take a moment to inspect it.
| Check | What to look for |
|---|---|
| Pattern openings | Residue blocking details or changing an edge |
| Small connecting sections | Tears, creases or bent pieces |
| Contact side | Material that could transfer onto the wall |
| Overall shape | Whether the sheet rests flat without being forced |
A stain alone does not tell you whether a stencil can still make a clear pattern. Focus on the condition of its openings, edges and contact surface. If you are uncertain, test it on a separate sample before continuing on the wall.
A damaged section should be assessed before reuse rather than pressed flat and ignored. If it no longer follows the original outline, the next impression may reproduce that change.
Keep the Pattern Ready for Your Next Project
A reusable stencil is most convenient when you can find it, unfold nothing, and start with a clean template. Build cleanup into your project time, inspect delicate details and give the sheet enough room in storage.
For application guidance, see DFAdecor’s How to Stencil tutorial. When you are ready to choose another design, browse the wall stencil collection and check the dimensions and application variant before ordering.
Share:
How to Create Faux Brick and Stone Walls with Stencils
How to Stop Paint Bleeding Under a Wall Stencil