


Natural stone, textured antique brick, and refined solid wood are interior design classics that bring status, warmth, and distinct character to any space. However, installing natural materials often involves significant financial costs, complex surface preparation, and heavy structural loads.
Modern interior and exterior finishing technologies offer an aesthetic and affordable alternative. Specialized provider DFA Decor opens up new possibilities for fast space transformations: using professional texturing tools, anyone can now create realistic, high-relief surfaces on almost any substrate.
In this practical guide, we will look at how to use silicone stamps and mats for decor to effortlessly reproduce natural textures on your walls and floors.

Why Choose Silicone Stamps and Texture Mats?
Silicone mats and stamps are flexible, high-precision molds crafted from durable, highly elastic silicone. They replicate the fine grain and subtleties of natural materials down to the micron: wood grain, fractures in natural slate, surface roughness, or the raw edge of clinker brick.
Key Benefits of the Technology:
-
Cost-Effective: The total cost of decorative plaster or mortar combined with a stamp is a fraction of buying, shipping, and installing real stone or timber.
-
Versatility: Suitable for indoor spaces (living rooms, hallways, kitchen backsplashes, bathrooms) and exterior applications (facades, foundations, fences, garden walkways).
-
Ease & Precision: High-grade silicone does not adhere to mixtures, washes clean easily, and guarantees sharp, crisp imprints without distortion or tearing.
-
Eco-Friendly & Durable: The finished decorative layer does not emit harmful substances, is easy to clean, and stands up to daily wear.

Textures You Can Replicate: From Industrial Loft to Eco-Style
With high-definition impressions from the DFA Decor silicone stamps and mats collection, you can bring any design vision to life:
-
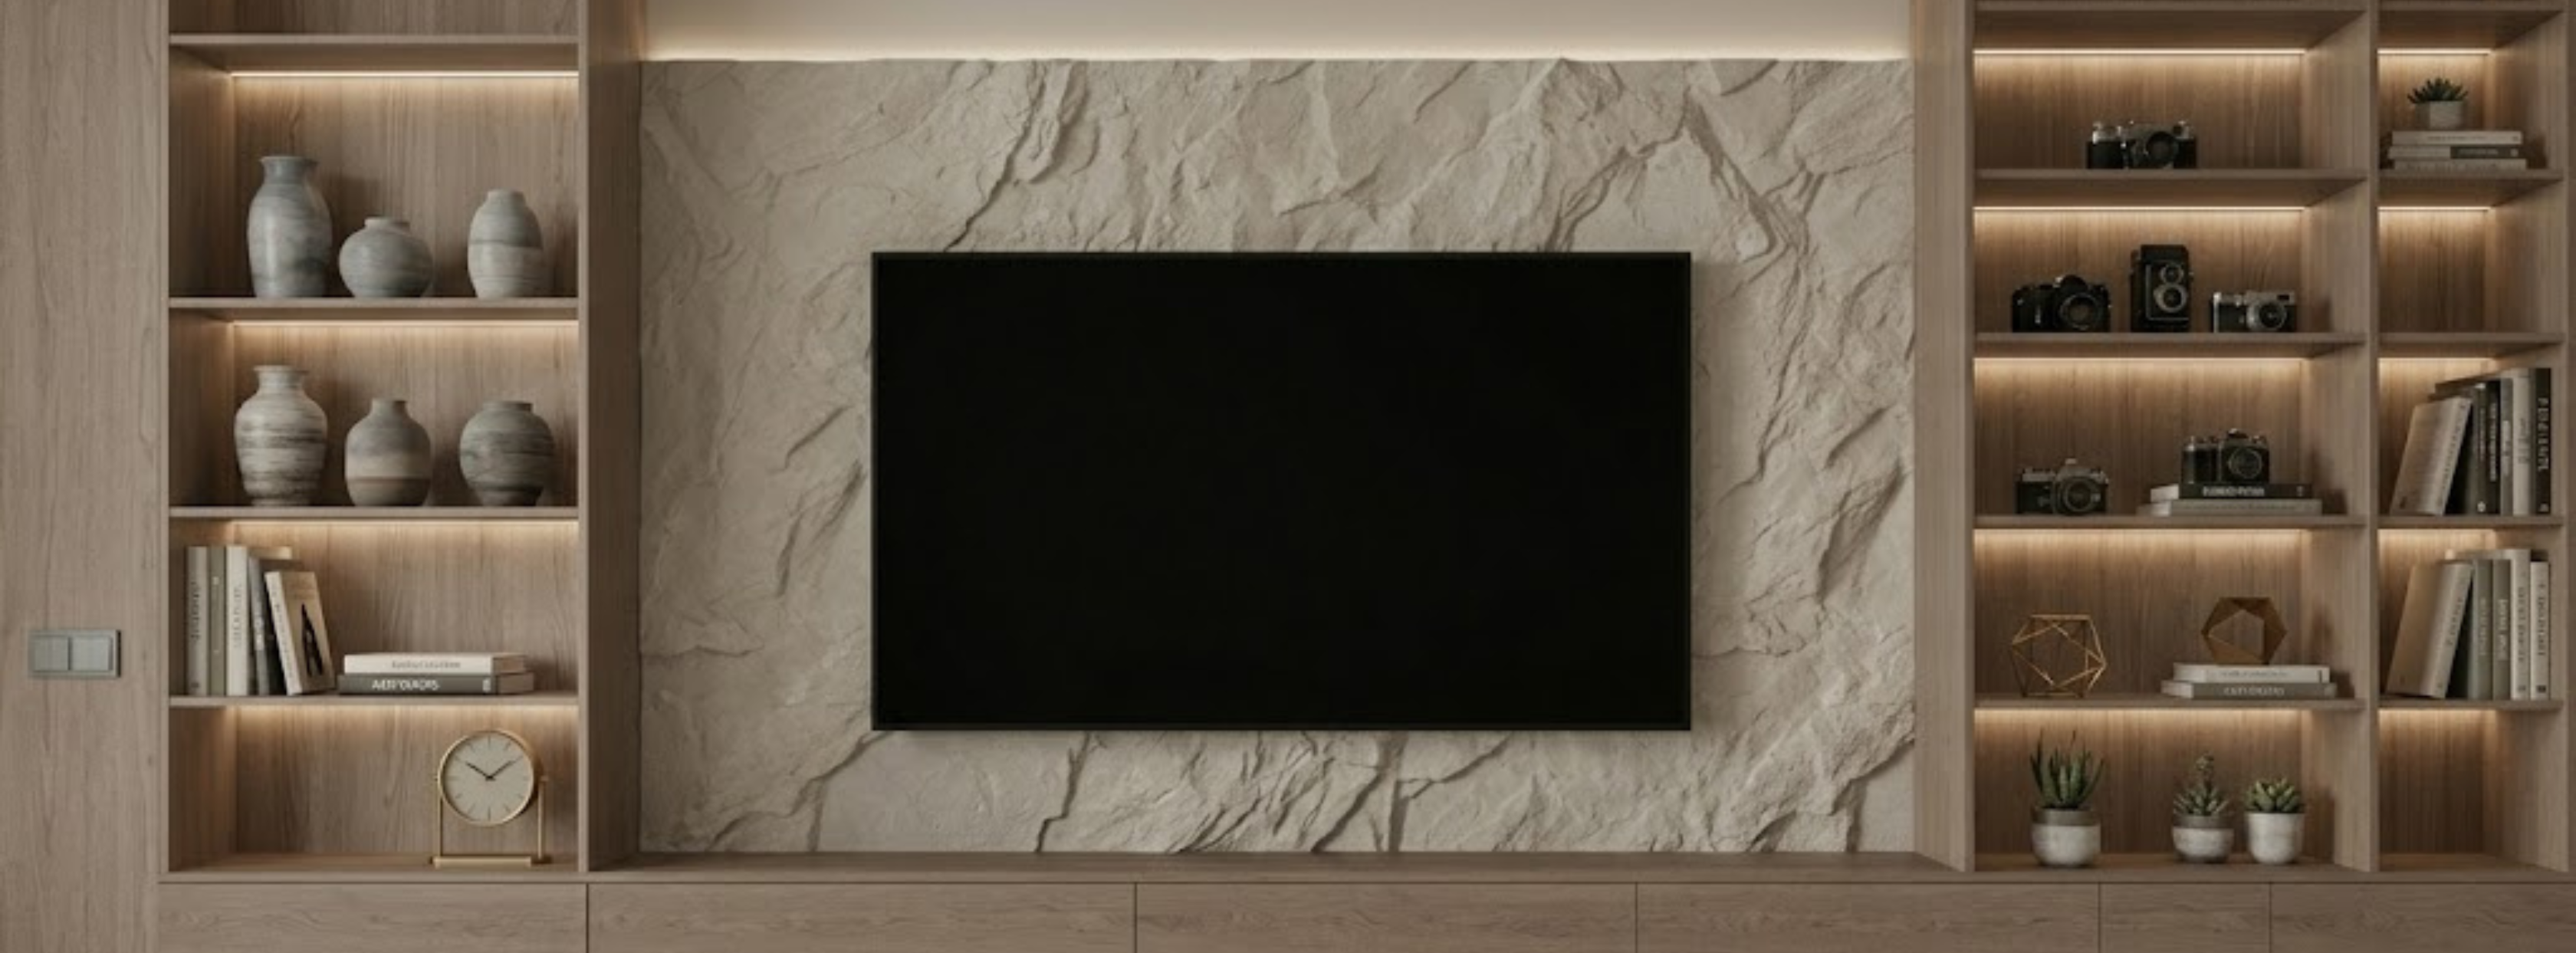
Stone Textures (Slate, Limestone, Ledge Stone): Ideal for accent walls in living rooms, fireplace surrounds, or exterior building bases.
-
Brick Textures (Loft Brick, Clinker, Weathered Brickwork): A popular choice for contemporary loft, minimalist, or cozy Scandinavian interiors.
-
Wood Grain (Plank Cuts, Timber Ring End-Grain, Parquet Patterns): A versatile option for feature walls as well as stamped concrete floors, patios, or pathways.

Step-by-Step Guide: DIY 3D Decorative Finish
Follow this proven application process to achieve professional results.
Step 1. Surface Preparation
Ensure the substrate (wall or floor) is clean, dry, and free of loose material or dust. Apply a deep-penetrating primer coat to ensure maximum adhesion for the plaster or mortar mix.
Step 2. Applying the Working Layer
Apply a layer of decorative plaster, putty, or microcement (or specialized cementitious overlay mixes for floors). The layer thickness should match the depth of the stamp texture—typically between 5 mm and 15 mm. Allow the mortar to firm up for a few minutes until it becomes pliable and no longer sticks to your touch.
Step 3. Stamping the Imprint
To prevent the silicone mold from sticking, apply a light coat of liquid release agent or mild soapy water to the stamp or the mortar surface. Press the silicone mat firmly and evenly into the wet material using your hands or a texture roller. Carefully peel the matrix back starting from one corner.
Designer's Tip: To ensure a seamless, natural look across larger areas, slightly rotate and offset the stamp pattern with each consecutive impression.
Step 4. Final Detailing and Coloring
Once the mixture has fully cured (24–48 hours), lightly sand away any sharp protrusions with fine-grit sandpaper. Next, move on to staining or painting:
-
Use quality acrylic or silicone-based paints.
-
Apply a base coat, then use a semi-dry sponge or dry brush technique with a lighter or darker shade to highlight the raised relief.
-
Seal and protect the surface with a durable matte or satin protective varnish.
Pro Tips for Flawless Results
-
For Floor Applications: Use high-strength cement mixes and seal the finished surface with an abrasion-resistant polyurethane or epoxy sealer.
-
For Exterior Use (Facades, Patios): Choose weather-resistant exterior plasters and hydrophobic clear sealers designed to endure freeze-thaw cycles and moisture.
-
Tool Care: Wash your silicone stamps with warm soapy water immediately after use to maintain their flexibility and fine detail for years to come.

Creating an exclusive interior featuring the organic beauty of stone or brick no longer requires hiring expensive contractor teams. With the right techniques and professional tools, you can craft one-of-a-kind textured finishes yourself.
Explore the complete catalog of precision decorative tools and find the ideal pattern for your next project in the silicone stamps and mats collection at DFA Decor. Transform your living space into a stylish, cozy home with DFA Decor!
Share:
Vyshyvanka Stencils: Traditional Ukrainian Patterns for Unique DIY Wall Decor
The Magic of Reflection: How Mirror Elements (Ornaments, Figures, Symbolism) Transform Interiors