


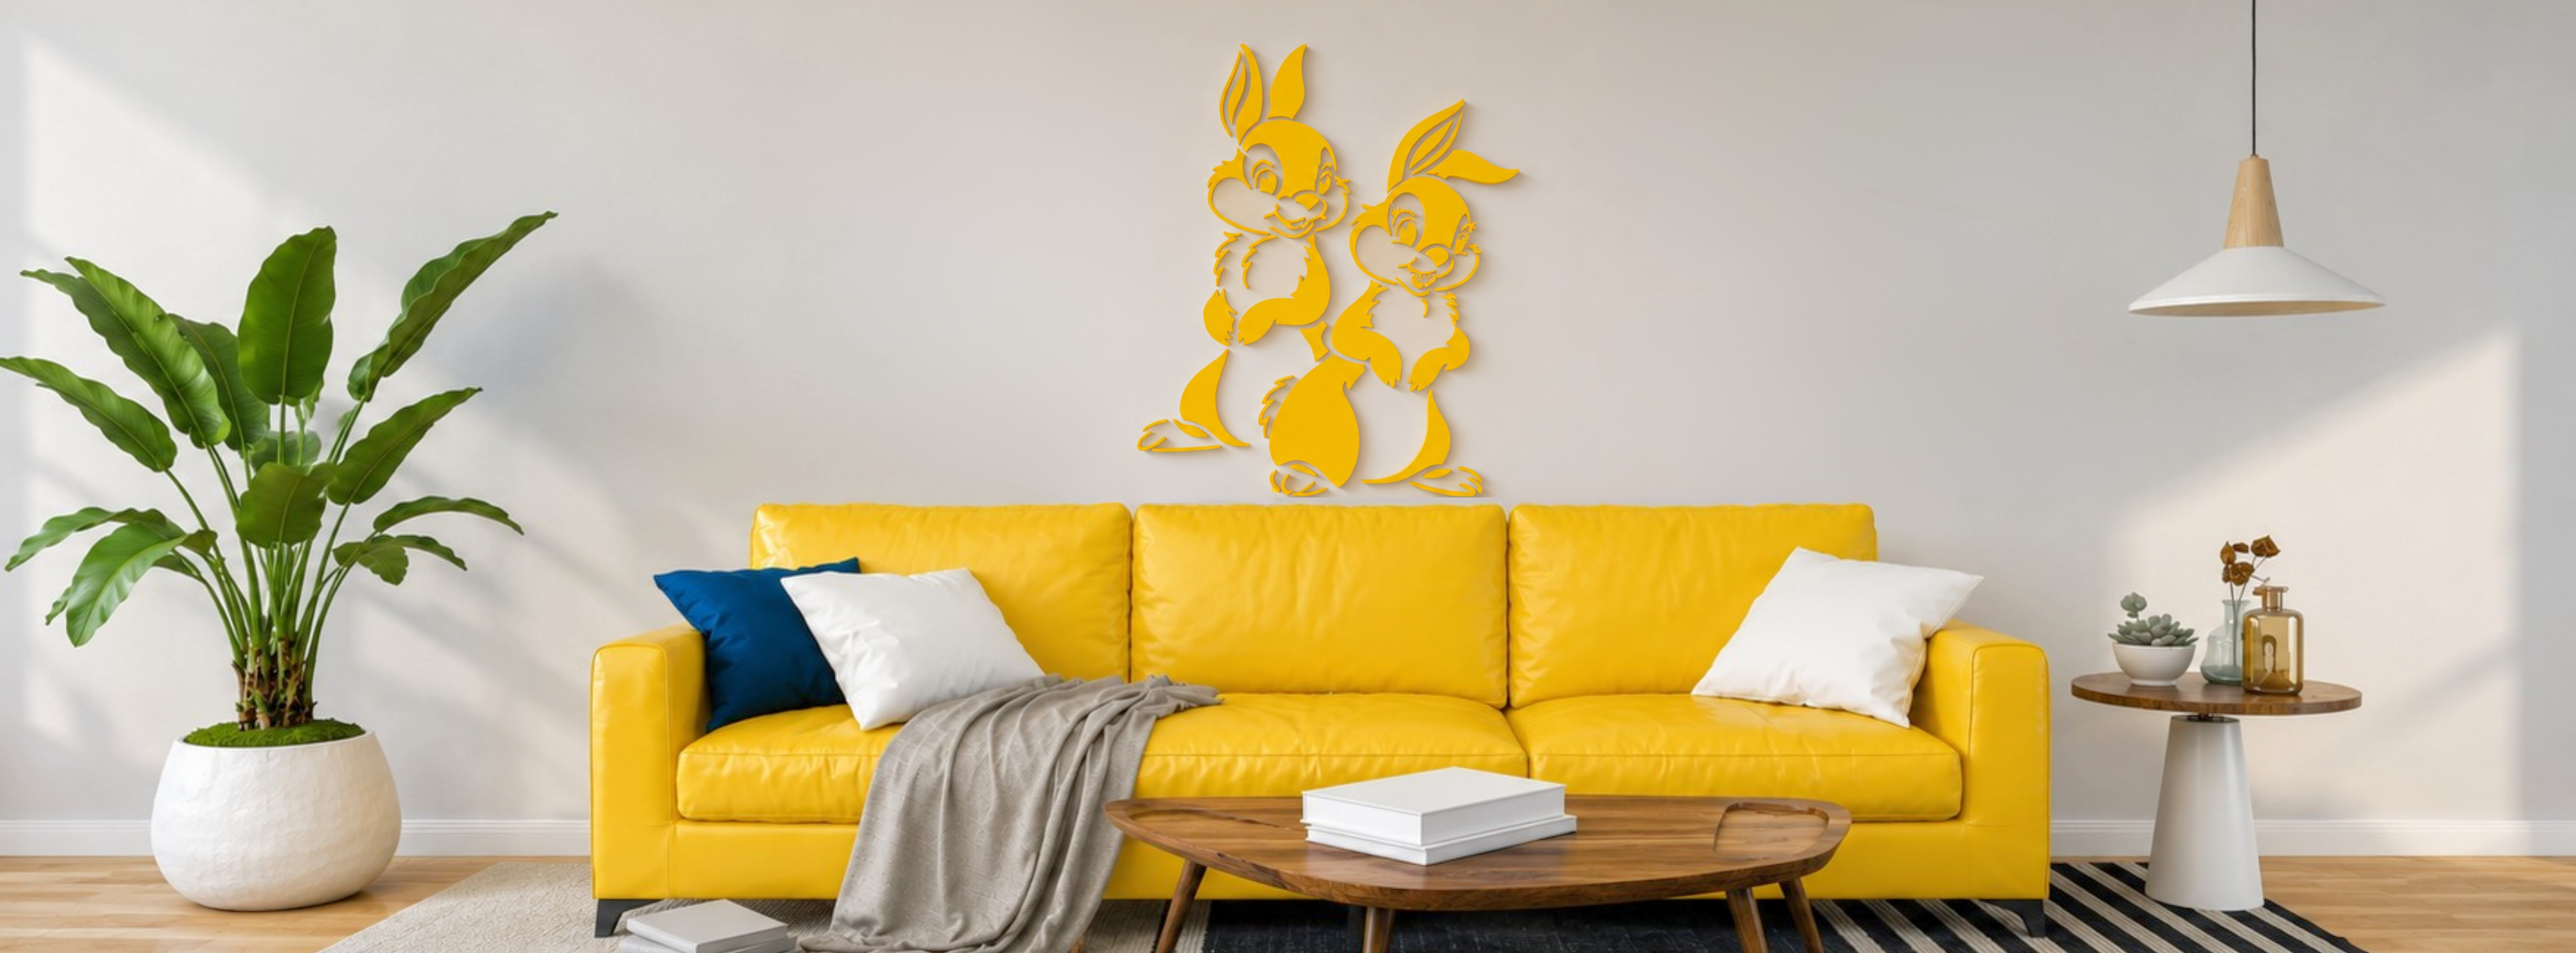
Every child dreams of their own unique space—a place where fairy tales come to life, superheroes are born, or magical gardens bloom. For parents, the main task is to make this space safe, cozy, and, ideally, budget-friendly. How do you combine children's fantasies with a practical approach? The ideal solution is DIY kids' room decor using artistic templates.
Today, professional interior designers are increasingly moving away from boring wallpaper in favor of paint, as it offers total creative freedom. Kids' room wall stencils are the perfect tool to transform an ordinary, plain surface into a real work of art. If you are looking for high-quality, eco-friendly, and easy-to-use tools for your project, look no further than the collection by the Ukrainian brand dfadecor.com, which creates unique templates for quick space transformations.
Why Interior Stencils Are a Modern Design Trend
Using wall stencils offers numerous benefits that both perfectionists and practical parents will appreciate:
-
Cost-Effective. You don’t need to buy expensive photo wallpapers or hire a professional artist. Reusable wall stencils are highly affordable, yet the result looks like a million dollars.
-
Eco-Friendly and Safe. You choose the certified, hypoallergenic water-based paints that are perfectly safe for children's rooms.
-
100% Unique. You can independently adjust the pattern spacing, combine shades, and create your own compositions that definitely won't be found next door.
-
Adaptable to Age. Children grow fast, and their tastes change. When your child outgrows a certain phase, the painted wall can easily be repainted or updated with new geometric patterns or typography.
Creative Solutions for a Boy's Room: From Space to Adventure
Boys usually love dynamics, exploration, and grand storylines. Designers recommend using deep yet cozy shades: graphite, muted blue, khaki, mustard, or terracotta.
-
Space Odyssey. Create a night sky on an accent wall. Using templates of stars, planets, satellites, and rockets, you can turn the bed area into outer space. Using glow-in-the-dark paint will add true magic at night.
-
Wildlife and Safari World. Large silhouettes of mountains, pine forests, or exotic animals (lions, giraffes, elephants) are perfect for little explorers. These designs blend beautifully with the ultra-trendy Scandinavian interior style.
-
Urban Living and Machinery. Airplanes, cars, skyscraper silhouettes, or loft-style geometry will highlight the character of a future inventor or athlete.

A Magical Space for a Girl's Room: Tenderness, Aesthetics, and Fairytales
For girls, a soft, pastel color palette is often preferred: powdery pink, lavender, gentle mint, cream, or peach. However, don't be afraid of bright accents!
-
Floral Symphony and Botanicals. Large watercolor flowers, delicate leafy branches, or small floral patterns create a cozy garden atmosphere. This is a great way to highlight a play area or a girl's study desk.
-
Fairytale Characters and Romance. Stencils featuring silhouettes of unicorns, hot air balloons, fluffy clouds, or elegant ballerinas fill the room with lightness.
-
Trendy Polka Dots. Classic small or large polka dots on walls never go out of style. This is the easiest way to refresh a room in just a few hours using a single template.
If you want to bring any of these ideas to life, explore the catalog at DFA Decor—featuring dozens of modern designs tailored to the latest interior fashion trends for children of all ages.
Guide for Parents: How to Apply Designs Using a Stencil Properly
The wall decorating process is incredibly simple and can turn into a fun family weekend activity. Here is a step-by-step algorithm from a professional decorator:
Step 1: Tool Preparation
You will need:
-
A wall stencil;
-
Painter's tape or a specialized stencil spray adhesive (to secure the template firmly);
-
A dense foam roller or a short, stiff-bristled stencil brush;
-
Interior paint;
-
Paper towels (to remove excess paint).
Step 2: Fixation and Placement
Clean the wall from dust. Place the template against the wall (use a spirit level to ensure the design is straight) and secure it with painter's tape.
Step 3: The Golden Rule — "Dry Tool Technique"
Dip your roller or brush into the paint, and then be sure to blot it onto a paper towel. The tool must be semi-dry! If there is too much paint, it will bleed under the edges of the template and ruin the clean outline. Apply the paint with light dabbing motions (if using a brush) or roll smoothly.
Step 4: The Final Touch
Don't wait for the paint to dry completely. Gently remove the stencil immediately after applying the paint. If you are using a reusable plastic template, wipe it with a damp cloth before the next application.
Designer's Tip: To create a raised 3D effect, you can use decorative texture paste or wall putty instead of paint. The pattern will turn out embossed and very satisfying to touch!

Create Magic with Market Leaders
Stencils for decorating walls and surfaces are more than just a way to save money on renovations. It’s an opportunity to express love, involve your child in the creative process, and design a dream room together. The most important part of this journey is using high-quality materials that don't warp during application and ensure crisp lines.
Bring your boldest design fantasies to life with the online store dfadecor.com. Thanks to a wide selection of modern motifs, premium material quality, and fast shipping, you can transform a kids' room into an interior design masterpiece in just one weekend! Head over to the website, get inspired by ready-made solutions, and start creating magic today.
Share:
Botanical Stencils: A Modern Design Secret for Creating Attractive Textured Surfaces
Animal Stencils for Walls: How to Stylishly Update Your Interior DIY