


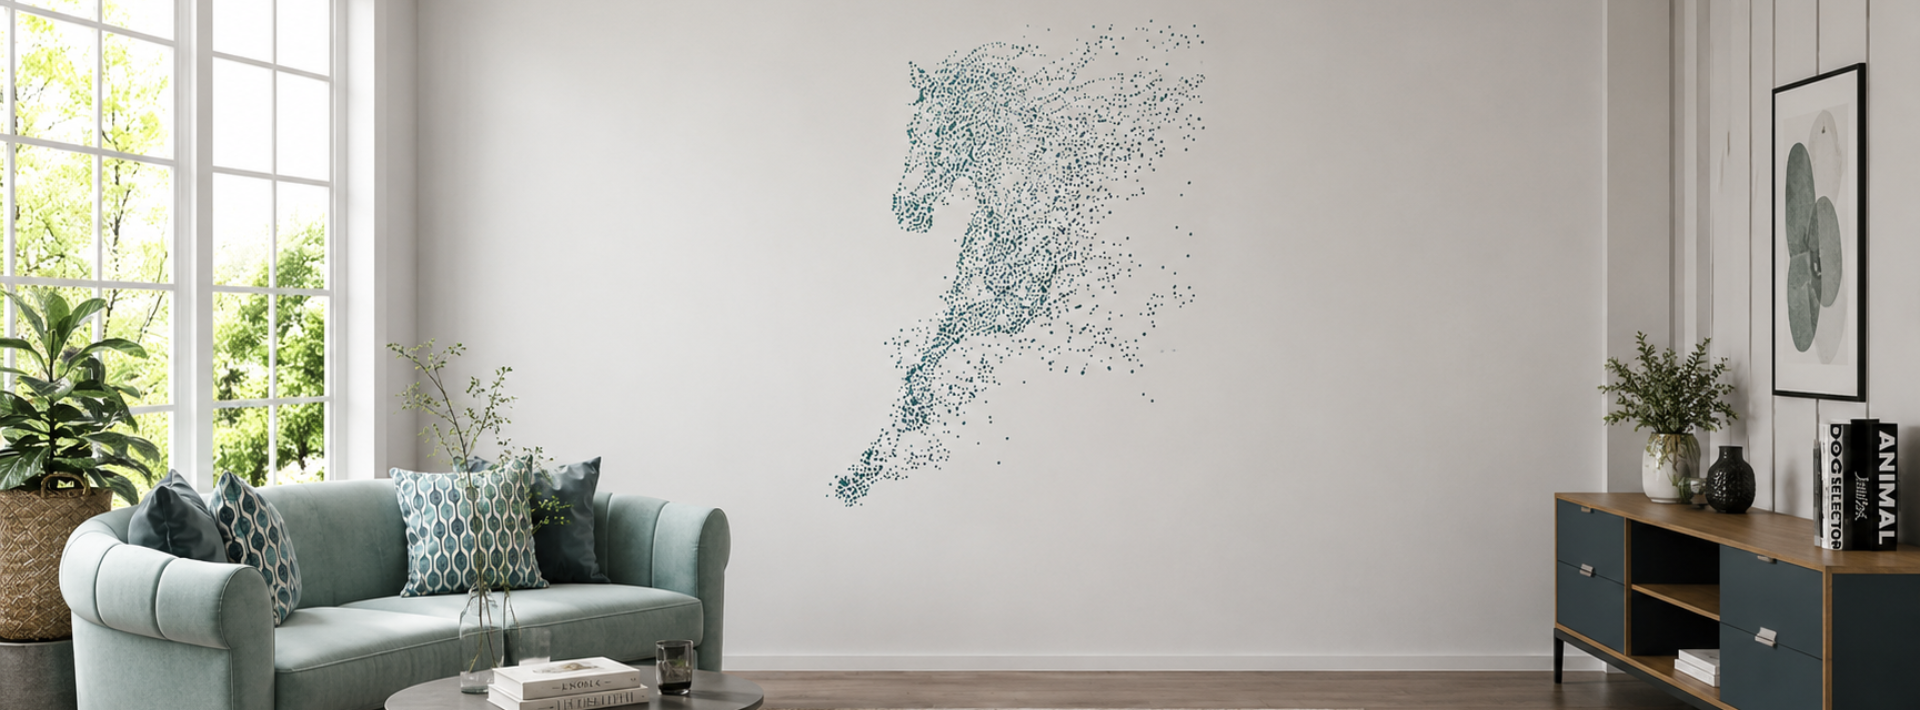
Modern interior design is increasingly leaning toward individuality, natural motifs, and coziness. If you dream of refreshing your space and adding character to it, but are not ready for a large-scale, expensive renovation, DIY decor is the perfect solution. One of the simplest yet most spectacular ways to transform a room is to use animal stencils for walls. The DFA Decor brand offers a variety of ready-made, aesthetic solutions that will help anyone feel like a professional designer and create a unique piece of art right at home.
In this article, we will break down how to properly integrate animal motifs into your design, which painting techniques to choose, and how to turn an ordinary wall into a masterpiece.
Animal Motifs in Interior Design: A Designer's Perspective
Wall stencils in the shape of animals are not just a fun element for a kids' room. In modern styles such as Scandinavian, eco, minimalism, or even sophisticated Art Deco, the silhouettes of wild animals, graceful birds, or exotic jungle inhabitants look incredibly stylish and aesthetic.
The main rule for a designer is to maintain balance and concept:
-
For the bedroom or living room: Elegant silhouettes of deer, graceful birds, or minimalist outlines of wild cats fit perfectly. They add dynamics to the space while keeping it elegant.
-
For the kids' room: Here you can let your imagination run wild. Cute bears, funny giraffes, or entire tropical forests will turn a child's room into a space for fairy tales and games.
-
For an accent wall: Use one large, detailed animal template that will become the main visual center of the room, rather than scattering attention on small, repetitive elements.

Why Choose Reusable Decor Templates?
Professional wall painting or high-quality photo wallpapers can cost a fortune. In contrast, reusable plastic stencils offer a number of undeniable advantages:
-
Cost-effectiveness. You only pay for the template and a small amount of paint.
-
Uniqueness. You choose the color scheme, application density, and placement of the design yourself.
-
Ease of use. The flexible and durable material easily adheres to any vertical surface.
-
Versatility. Templates are suitable not only for painting walls but also for decorating furniture, doors, or textiles.

Step-by-Step Guide: How to Update Your Interior with Your Own Hands
To make the pattern look neat, as if done by a master's hand, follow a simple preparation and paint application technique.
Step 1: Tool Preparation
You will need:
-
A stencil with the chosen animal silhouette.
-
Painter's tape or a special spray adhesive for temporary fixation.
-
Interior paint (acrylic or water-based) in the desired shade.
-
Application tool: a foam roller, a stencil brush with stiff bristles, or a sponge.
-
Paper towels to remove excess paint.
Step 2: Surface Preparation and Fixation
Make sure the wall is dry and clean of dust. Place the template on the intended spot. To prevent the design from shifting, secure it firmly with painter's tape. If the design contains fine details, it is better to use a spray adhesive—it will ensure the plastic fits tightly against the wall and prevent paint from bleeding under the edges.
Step 3: Applying the Design (The Secret to a Perfect Outline)
The most common mistake when working with templates is having too much paint on the brush or roller.
-
Dip the tool into the paint, and then be sure to blot it on a paper towel so that it remains semi-dry.
-
Apply the paint using light, dabbing motions (if using a brush or sponge) or gently roll it with a roller without pressing hard.
-
If you want a rich color, it is better to apply two thin layers with a drying interval rather than one thick layer.
Step 4: The Final Touch
Do not wait for the paint to dry completely. Carefully lift the edge of the stencil and remove it from the wall. If a second pattern is to be applied nearby, simply wash the template with warm water to remove any remaining paint, and it is ready to use again.

Trendy Ideas for Inspiration
-
Monochrome Minimalism: Apply a black or dark gray animal silhouette onto a clean white wall. This is a win-win option for modern Scandinavian interiors.
-
Tone on Tone (Plaster Application Sequence with a 3D Effect): Instead of paint, you can use a decorative finishing putty. Apply it through the stencil in a thin layer using a putty knife. After drying and light sanding, you will get a volumetric, sophisticated animal relief that looks like an original designer piece.
-
Gold and Metallic Accents: Animal silhouettes done in gold, copper, or silver paint against a dark background (emerald, graphite, or deep blue) will add sophistication and mystery to the room.
Create the Interior of Your Dreams Today
Updating your home is an exciting creative process that doesn't have to be complicated or expensive. The main things you need are quality tools and a bit of inspiration.
If you are ready for a change, visit the page where the complete original collection is gathered—you can choose and buy stylish animal stencils for every taste: from elegant geometry to realistic silhouettes of wildlife. Create comfort, experiment with shapes and colors together with your reliable guide in the world of wall decor, DFA Decor!
Share:
How to Decorate Kids' Room Walls with Stencils: Creative Ideas for Boys and Girls